Table of Contents
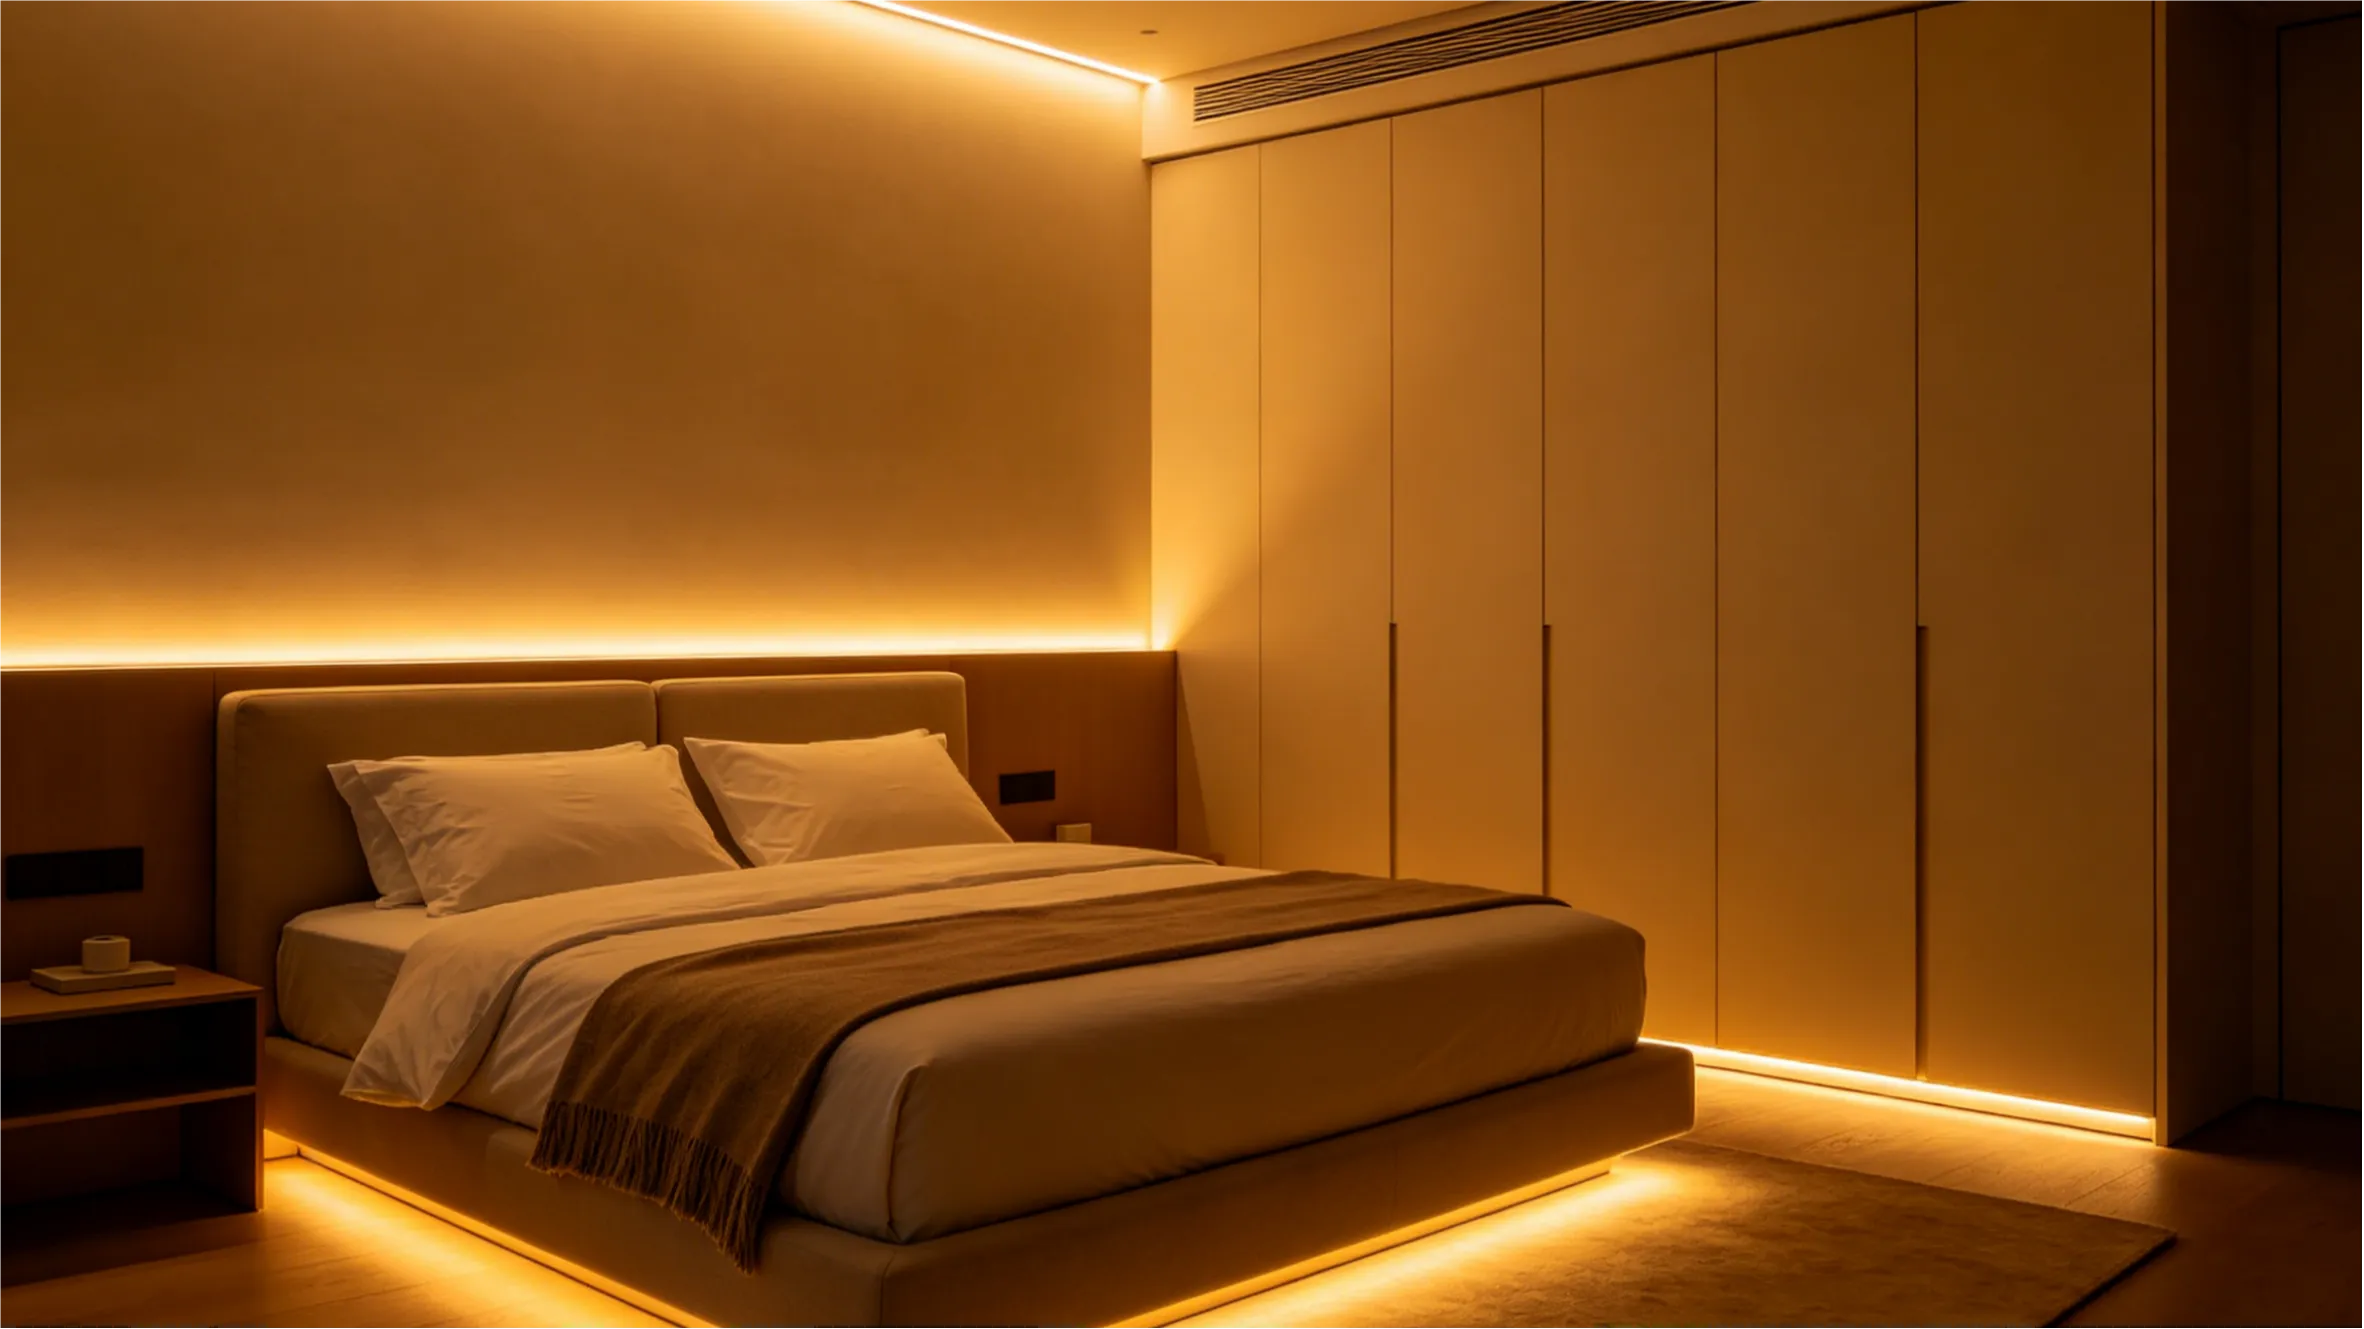
Nowadays, more and more bedrooms, living rooms, and even desk spaces are starting to use LED strip lights to create ambiance.
The soft glow extends along walls, bed edges, or cabinets, instantly adding depth and a sense of design to the entire space.
But when you're actually ready to install them, problems arise: How do you cut the LED strip? How do you connect the power supply? How do you handle corners? Will you end up damaging the strip?
In reality, installing most LED strip lights isn't as complicated as you might think. As long as you master a few key steps, even a first-time beginner can achieve a professional-grade lighting effect in a short amount of time.
In this article, we'll walk you through, step by step, how to choose, install, and optimize LED strip lights, making it easy for you to create the ideal atmospheric lighting in your space.
Additionally, Lamomo has prepared installation and usage guides for each LED strip type they carry. Check the guide that matches your purchased strip:
Single Color LED Strip Lights: Single Color LED Strip Lights: How To Cut, Install, and Use Them
RGB LED Strip Lights: RGB LED Strip Lights: How To Cut, Install, and Use Them
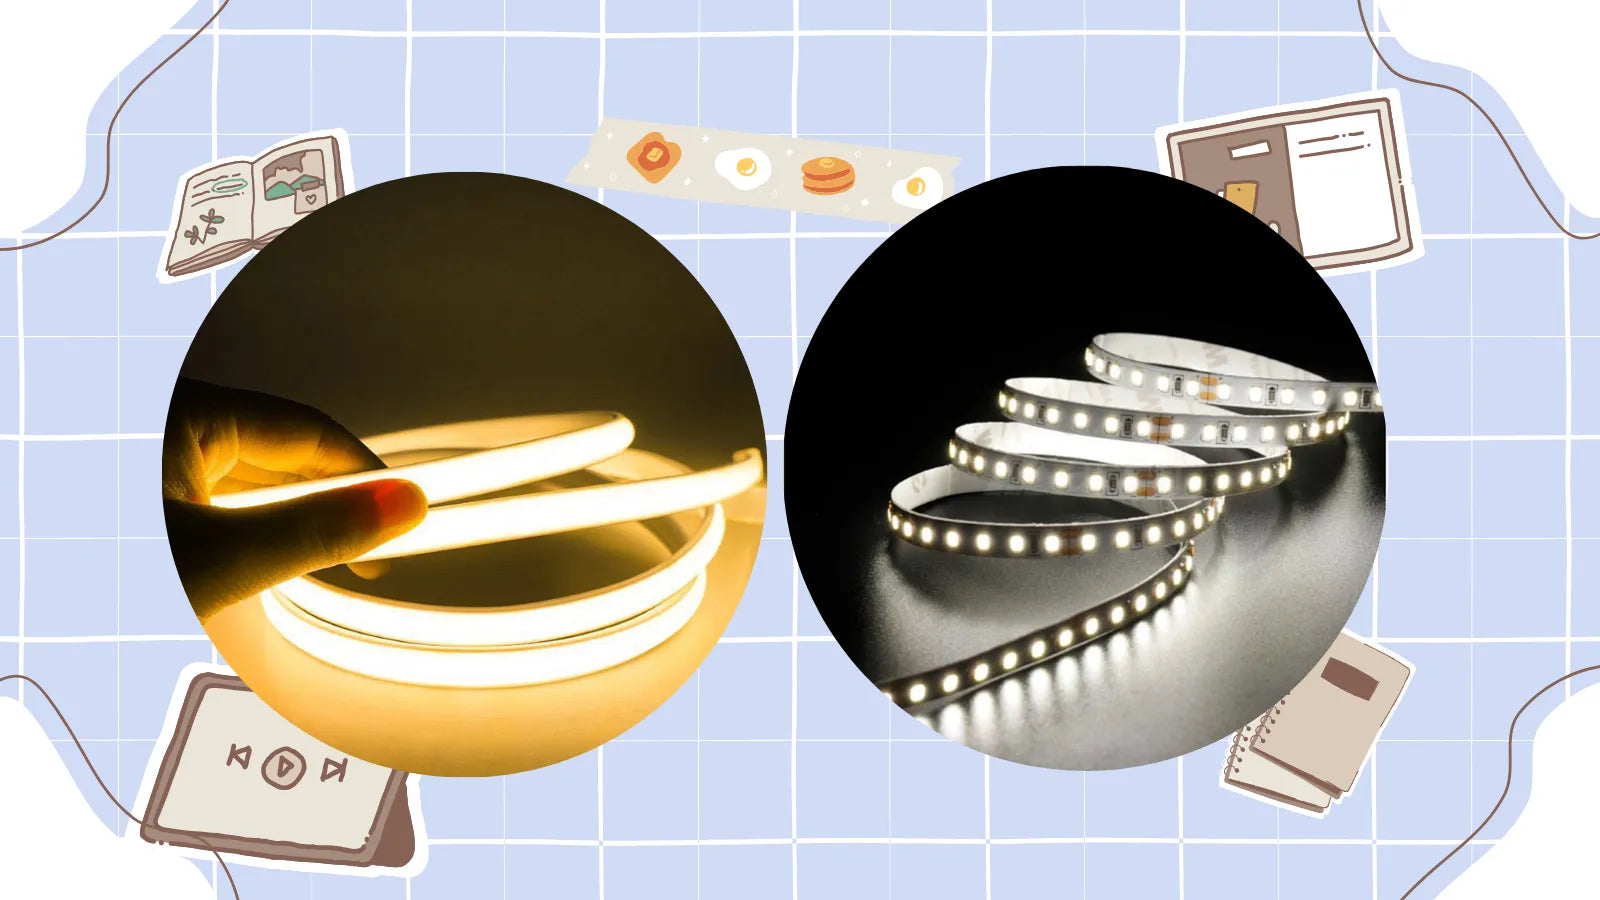
COB LED Strip Lights: COB LED Strip Lights: How To Cut, Install, and Use Them
Before You Start: The Beginner’s Shopping List
Before officially installing your LED strip lights, getting all the necessary materials ready will make the entire process much smoother.
For beginners, the most common issue isn't “not knowing how to install”, but rather buying the wrong specifications, mismatched accessories, or missing key tools.
The checklist below will help you get all the basics covered at once.
1. LED Strip Lights
When choosing, you'll come across two common voltages: 12V, 24V and 120V.
12V strips: Suitable for short distances and small spaces (e.g., desks, headboards), easier to cut.
24V strips: Suitable for longer installations (e.g., ceiling perimeters, living room edges), provide more uniform brightness and less voltage drop.
120V strips (high-voltage): Designed for long-distance and outdoor use (e.g., patios, roofs, gardens, building outlines). They can run much longer lengths without voltage drop.
Simple rule of thumb:
- Short distance → choose 12V
- Long distance → choose 24V
- Very long runs or outdoor projects → choose 120V
2. Power Adapter
Many beginners overlook this: the power adapter must match the wattage of the LED strip.
You need to confirm two parameters:
- Voltage (must be consistent – e.g., 12V strip with a 12V adapter)
- Wattage (it's recommended to leave a 20% margin to avoid overloading)
For example, if the total wattage of the LED strip is 48W, it is advisable to choose a power adapter of around 60W.
3. Must-Have Tools
Installing LED strip lights doesn't require professional tools, but you should definitely have the following ready:
- Tape measure: measure the installation length to avoid buying too much or too little strip.
- Scissors: for cutting the strip (make sure to cut only at the marked positions).
- Cleaning cloth: to wipe dust off the installation surface.
- Rubbing alcohol or cleaner: to remove grease, improve the strip's adhesion, and prevent it from falling off later.
Quick tip: If the strip doesn't stick firmly, 90% of the time it's because the surface wasn't cleaned properly.
LED Strip Lights Installation Process
After preparing the LED strips, you can move on to the installation. Follow the steps below to install your strips one by one.
Step 1: Measure and Plan the Layout
Before peeling off the adhesive backing, don't rush to install just yet.
You need to determine:
- The installation location (wall corners/ceiling/under the bed/cabinets)
- The actual length required (measure with a tape measure)
- Whether there are corners (90° turns, U-shapes, L-shapes, etc.)
Tip:
You can first use masking tape or temporary fixings to "simulate" the route, so you avoid installing it crooked or running out of length.
Step 2: Cutting and Connecting the LED Strip
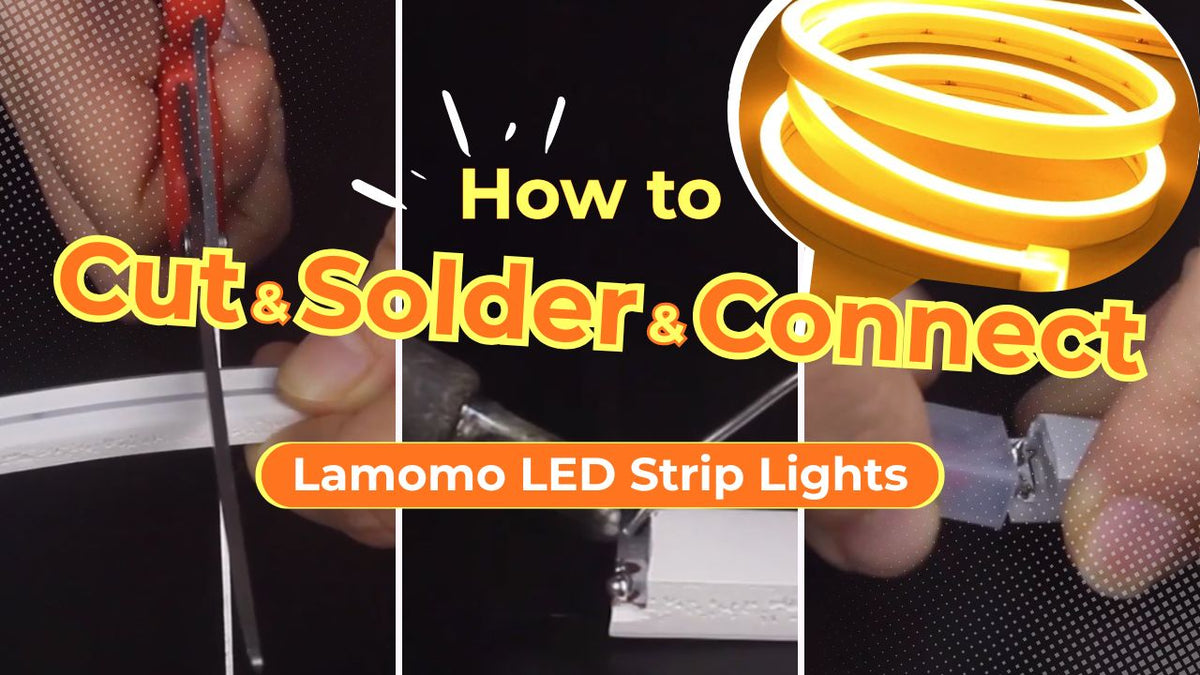
Lamomo LED strips are designed for flexibility. Depending on the specific model you purchased, you can either use a quick-connector or a traditional soldering method.
1. General Cutting Rules (For All Models)
Locate the Cut Line: Only cut at the designated black cutting marks (located between the copper pads).
| LED Strip Lights | Single Color Strip | Dimmable Strip | RGB 6mm*12mm | RGB 8mm*16mm | 24V COB Strip | 120V COB Strip |
|---|---|---|---|---|---|---|
| Where to cut | Cut every 0.39 in (1 cm) | Cut every 0.98 in (2.5 cm) | Cut every 0.98in (2.5cm) | Cut every 2.36in (6cm) | Cut every 1.97in (5 cm) (no soldering) | Cut every 19.69in (50cm) |
| Purchase from Amazon | Single color strip lights | Dimmable strip lights | RGB waterproof strip lights | RGB 8MM*16MM strip light | 24V COB strip light | 120V COB strip light |
| Purchase from Official Website | Waterproof single color strip | Dimmable single color strip lights | RGB strip lights | RGB strip light 8mm*16mm | 24V COB led strip | 120V COB led strip |
Precision is Key: Cutting anywhere else will break the electrical circuit and cause the section (or the entire strip) to stop working.

Measure Twice: If you are unsure about the length, it is better to leave it slightly longer. You can always trim it further, but you cannot reattach a piece easily.
2. Choose Your Connection Method
Option A: For 24V 10mm 2-pin COB LED Strips (Solderless)
If you are using the 24V 10mm 2-pin COB series, you can complete the installation without any soldering tools by using the included accessories.
Our 24V COB strip lights are available in three color options:
Warm White 24V COB LED Strip Light Set
Natural White 24V COB LED Strip Light Set
White 24V COB LED Strip Light Set
- Use the Connector: Locate the strip-to-strip connector with 18cm jumper included in your package.
- Insert the Strip: Open the connector cover and slide the end of the cut LED strip into the slot.
- Match Polarity: Ensure the positive (+) and negative (-) markings on the strip align correctly with the wires.
- Secure: Close the clip firmly until it snaps into place, ensuring a stable connection.
Option B: For All Other Models (Soldering Process)
For other LED strip models that do not include solderless connectors, follow these professional soldering steps:
- Cut: Use sharp scissors to cut precisely at the black mark.
- Prep the Coating: Peel back approximately 1/8'' of the protective coating to expose the copper pads.
- Tin the Pads: Apply a small amount of solder (tinning) to both the copper pads on the strip and the ends of your wires.
- Mate the Wires: Solder the wires onto the pads, ensuring a clean and solid bond.
Cap it: Slide the cable cap through the wire and over the connection for protection.

3. Weatherproofing & Final Test
Waterproofing: For installations in humid areas (like bathrooms or outdoors), apply silicone glue to the connection points and seal them with end caps.
Testing: Always plug in and test the LED strip before final installation to ensure the connection is secure and the light is consistent.
Step 3: Clean the Surface
This is a step that many people overlook, but it's absolutely critical.
Before installation, make sure the surface is:
- Dust-free
- Free of grease or oil
- Dry and smooth
It is recommended to wipe the installation area with alcohol and a dry cloth.
Step 4: Installing and Securing the LED Strip
Depending on your specific Lamomo model and the installation environment, follow one of the three methods below to ensure a secure fit:
Case A: Adhesive Backing (Direct Peel-and-Stick)
If your LED strip comes with integrated adhesive tape, it is designed for quick installation on smooth, dry surfaces.
- Peel as You Go: Do not remove the entire backing at once. Peel 30–50 cm at a time to prevent the tape from catching dust or misaligning.
- Apply Pressure: Press firmly along the strip. We recommend applying extra pressure every 20–30 cm to ensure the bond is airtight.
- Surface Prep: Ensure the surface is cleaned with alcohol and completely dry before sticking.

Case B: Clip & Screw Mounting (For Non-Adhesive Strips)
Some Lamomo models (particularly heavy-duty or waterproof versions) do not include adhesive backing. These are secured using the included hardware kit.
Included Hardware: Your package includes mounting clips, screws, and waterproof end caps.
Installation:
- Position the clips along your installation path (typically one every 30–50 cm).
- Secure the clips to the surface using the provided screws.
- Snap the LED strip into the clips.
Benefit: This method is ideal for ceiling installations or long-term setups where adhesive might sag over time.

Case C: Outdoor Installation (Reinforced Mounting)
For outdoor environments or rough surfaces (like brick, concrete, or wood), a more robust fixing method is required to withstand weather and gravity.
Included Hardware: Your package includes expansion screws (wall anchors) and reinforced clips.
Installation:
- Drill pilot holes into the mounting surface.
- Insert the expansion screws into the holes.
- Align the clips over the anchors and drive the screws in tightly.
- Secure the LED strip into the clips and ensure all connections are sealed with waterproof caps.
Benefit: Provides maximum stability against wind, rain, and temperature fluctuations.

Pro-Tip: The Hybrid Method
Even if your strip has adhesive backing, if you are installing it in humid environments (like bathrooms) or for long-distance ceiling runs, we highly recommend using both the adhesive and a few mounting clips together for ultimate peace of mind.
Step 5: Connect the Power Supply and Controller
Next comes the most critical connection step:
- Connect the LED strip to the controller (if included)
- Then connect the controller to the power adapter
- Finally, plug the power adapter into an electrical outlet
Note: The power adapter is not waterproof (if used outdoors, it must be placed in a waterproof box).
Pay attention to the order: LED strip → Controller → Power supply (do not reverse the connection)
About the power adapter:
- Some Lamomo kits come with a power adapter → ready to use directly
- Some require a separate power adapter → be sure to check that the voltage and wattage match
Step 6: Test and Adjust
Before finalizing the installation, be sure to test the following:
- Whether the entire LED strip lights up
- Whether there is any flickering or partial dimming
- Whether the controller is working properly
Once everything is confirmed to be correct, proceed with the final fixing and cable management.
Precautions
1. Heat Dissipation (Very Important)
- Do not coil the entire LED strip and power it on while still rolled up (easily overheats);
- Install in a well-ventilated location whenever possible;
- When running at high brightness for extended periods, it is recommended to mount the strip on an aluminum channel or a thermally conductive surface;
This is especially important for high-brightness COB strips – poor heat dissipation will directly shorten their lifespan.
2. Voltage and Wattage Must Match
- The strip voltage (12V / 24V) must match the power supply;
- It is recommended to leave a 20%–30% margin on the power supply wattage;
Common issue: Insufficient power supply wattage → flickering/dimming toward the end of the strip
3. Only Cut at Marked Points
- Each LED strip has clear cutting marks
- Cutting in the wrong place may cause the entire section to fail or work partially
If you are unsure, it's better not to cut or leave a little extra length.
4. Installation Surface Must Be Clean
- Dust and grease will seriously affect adhesion
- It is recommended to wipe the surface with alcohol before installation
Many "strip falling off" problems are actually not product issues.
5. Control the Maximum Length (Prevent Voltage Drop)
Do not exceed the recommended length for single‑end power feed (commonly 5m / 16.4ft).
For longer installations, consider:
- Power feed at both ends
- Adding an additional power supply
Otherwise, the strip will become noticeably dimmer toward the end.
6. Do Not Reverse the Connection Order
The correct order is:
LED strip → Controller → Power supply → Outlet
Reversing the order may cause: No light/loss of control/damage to the equipment.
7. Pay Attention to Waterproof Rating (Indoor vs. Outdoor)
- Non‑waterproof models are only suitable for dry environments
- Kitchen/bathroom/outdoor → require outdoor LED strip lights
Do not use non‑waterproof strips in humid environments.
8. Fixing Method Must Match the Use Case
Adhesive backing is suitable for flat surfaces such as walls and desktops.
Mounting clips are better for:
- Ceilings
- Long‑term fixation
- Silicone‑coated or heavier strips
For extra security, use both adhesive backing and mounting clips together.
9. Avoid Bending the Strip Too Sharply
LED strips can be bent, but do not fold them at a sharp 90° angle.
For corners, it is recommended to:
- Use a gentle curve
- Or use corner connectors
Sharp bends can easily damage the internal circuits.
10. DIY Connections (Soldering / Extending)
- Soldering tools and glue typically need to be purchased separately
- If you lack experience, it is advisable to use connectors instead of soldering
Soldering is not recommended for beginners, as it can easily lead to problems.

Why Choose Lamomo LED Strips?
If you want a smoother, more hassle‑free installation process, Lamomo LED strips have already taken care of several key details for you:
✔ Multiple mounting options: Supports adhesive backing or mounting clips (some models include 10 mounting clips) – suitable for different scenarios;
✔ Clear cutting marks: Reduce the risk of incorrect cutting for beginners;
✔ Stable brightness performance: No noticeable voltage drop – ideal for longer runs;
✔ Various kit options: Some products already include a power adapter and controller – easier for beginners to get started;
The essence of these design choices really comes down to one goal: allowing even someone with no experience to complete a "proper" installation.
By taking care of all the above preparations and checks, you can avoid most installation issues.