


I. Introduction
In the vibrant world of neon sign photography, every click of the shutter is a ticket to a luminescent wonderland. Let's embark on a journey where the night is not a curtain of darkness, but a canvas of glowing artistry.
A. Importance of Neon Sign Photography
Dive into the radiant universe of neon sign photography, where every snapshot tells a story brighter than a thousand suns. It's not just a hobby, it's a glowing testament to human creativity, lighting up the world one neon sign at a time!
B. Challenges of Night Photography
But beware, fellow night owls, for the path of night photography is not all twinkling lights and easy shots. It's a thrilling adventure filled with challenges that only the bravest photographers dare to face. From mastering the art of capturing the perfect glow to battling the unpredictable elements of the night, it's a journey filled with excitement and laughter.
So, gear up and let's illuminate the night with the vibrant hues of neon photography, where every challenge is a step closer to capturing the perfect shot!
II. Equipment Needed
Alright, shutterbugs, gather 'round because we're about to dive into the electrifying world of neon sign photography! But hold your horses, before you venture out into the neon wilderness, you need to be armed with the right gear. Let's get you kitted up!
A. Camera with Manual Mode
Step one, grab a camera with a manual mode because, in the neon jungle, you are the master of light, dictating terms to the photons dancing around!
B. Tripod
Next, a trusty tripod is your best friend, holding your camera steady while you capture the glowing wonders of the night, one frame at a time.
C. Lens with a Wide Aperture
Now, let's talk about the eyes of your camera - a lens with a wide aperture, ready to gulp down all the vibrant hues the neon signs have to offer.
D. Remote Shutter Release
And last but not least, a remote shutter release, the magic wand that allows you to capture the perfect shot without disturbing the camera's tranquil position.
So gear up, brave photographers, the neon night is calling, and it's time to answer with a camera loaded and a spirit ready for adventure!
Visit Lamomo Neon Creations for more inspiration!
III. Setting Up the Camera
Greetings, luminous artists! Before you set off to paint the town red... or green, or blue, or any neon hue that tickles your fancy, let's get acquainted with the maestro of this vibrant symphony - your camera! Setting it up correctly is like tuning a fine instrument, ensuring each note (or in this case, photo) hits the perfect pitch. Let's fine-tune that camera of yours!
A. ISO Settings
First on the agenda, ISO settings! Think of it as the sensitivity knob on your stereo. Crank it up to capture the vibrant whispers of neon lights in the quieter corners of the night.
B. Aperture Settings
Next up, aperture settings, the grand maestro conducting the light into your camera's sensor. A wider aperture is like a grandiose opera house, inviting a flood of neon melodies to grace its stage.
C. Shutter Speed
Then we have the shutter speed, the rhythmic heartbeat of your camera. It dictates the tempo, capturing the neon dance in a harmonious ballet of light and shadow.
D. White Balance
Finally, the white balance, the fine-tuner ensuring the neon colors are as true to life as possible, preserving the purity of their vibrant symphony.
So, step into the neon orchestra pit armed with the knowledge to conduct a luminous symphony of photographs that resonate with the vibrant heartbeat of the neon night.
Discover the vibrant world of neon photography with Lamomo Neon Creations!
IV. Choosing the Right Location
Ahoy, neon adventurers! As you prepare to embark on your neon photography expedition, choosing the right location is your first mission. Let's navigate through the neon jungles with precision and flair!
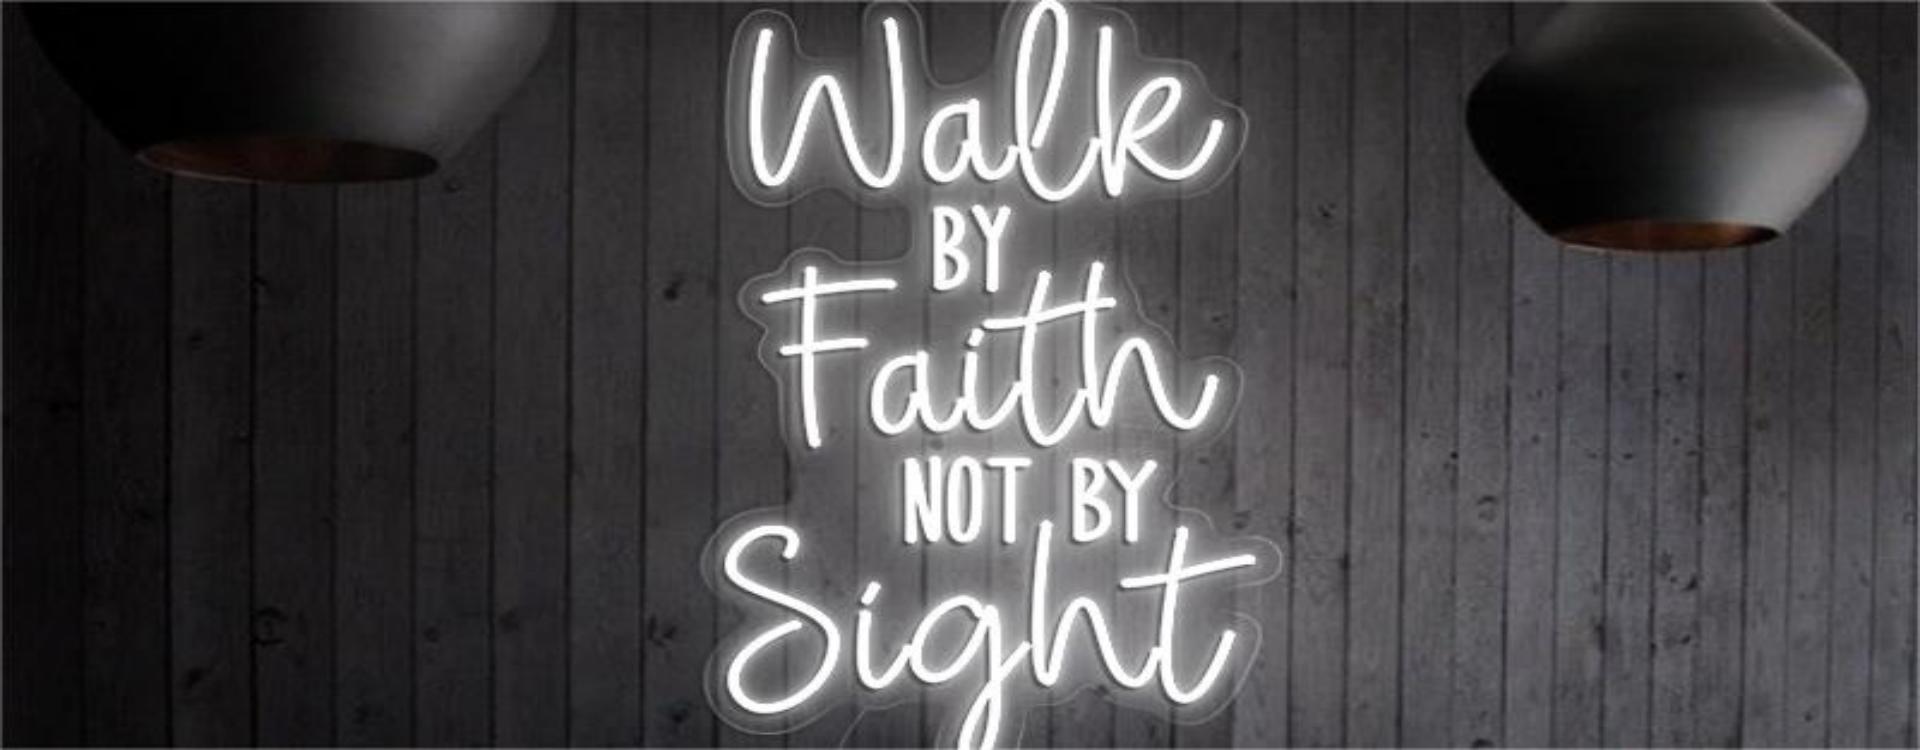
A. Scouting for Neon Signs
Begin your journey by scouting for the most vibrant and captivating neon signs. It's like a treasure hunt, where the X marks the spot of the most dazzling neon displays ready to grace your photographs with their luminous charm.
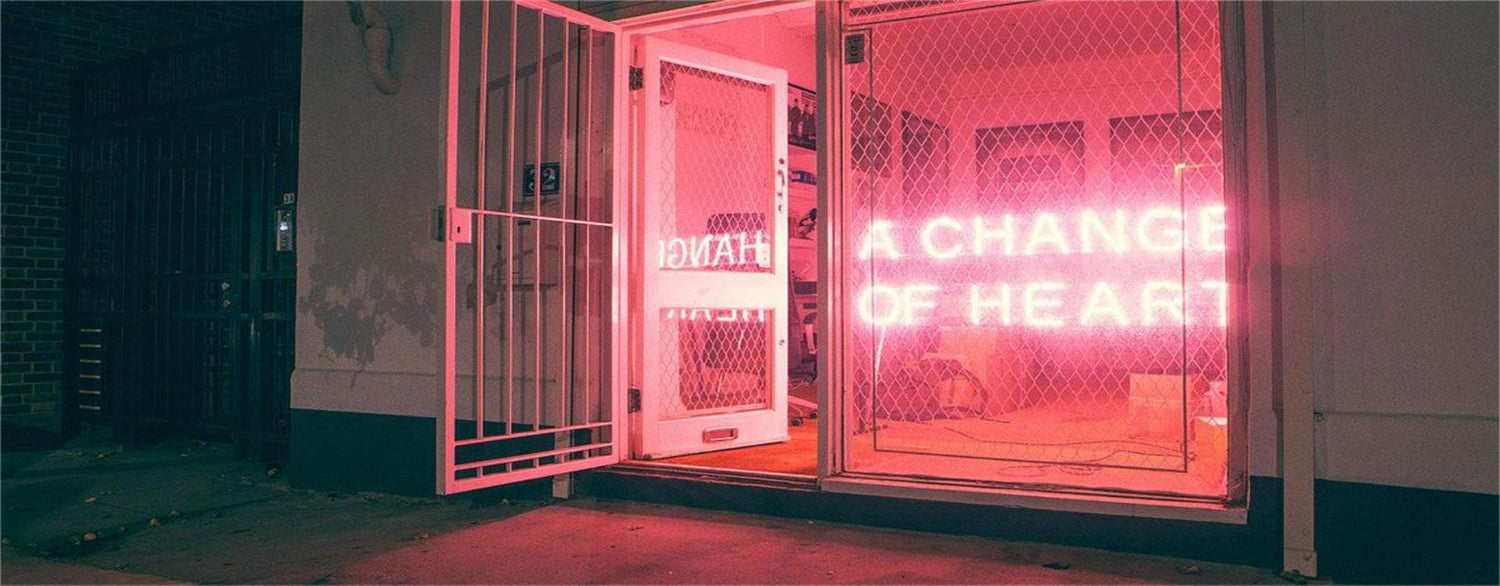
B. Considering the Background
Next, turn your keen eye towards the background. A well-chosen backdrop can elevate your neon masterpiece to celestial heights. Whether it's the twinkling stars or the rustic charm of a brick wall, the right background sings a harmonious duet with your neon star.
C. Safety Precautions
But wait, safety first, dear explorers! As you venture into the neon wilderness, remember to tread with caution. Equip yourself with the knowledge of the area and keep an eye out for potential hazards. After all, a safe adventurer is a happy adventurer!
So, gear up and step into the vibrant world of neon photography, where every location is a canvas waiting to be painted with the glowing hues of neon lights.
V. Composition Techniques
Ladies and gents, gather 'round! The neon lights are calling, and it's time to capture their mesmerizing dance. But, before you snap away, let's talk composition. It's the secret sauce that turns a good photo into a neon masterpiece!
A. Rule of Thirds
Imagine your frame divided into a tic-tac-toe grid. Now, place your neon subject at the intersections. Voila! You've just added a dash of professional flair to your shot. It's like placing the cherry on top of a sundae!
B. Leading Lines
Use the environment to your advantage! Streets, buildings, or even the neon signs themselves can act as leading lines, drawing the viewer's eye straight to your luminous subject. It's like rolling out the red carpet for your neon star.
C. Framing
Think of framing as the grand stage for your neon performer. Use doorways, windows, or even other signs to frame your subject. It's like giving your neon sign its own spotlight in the grand theater of the night.
D. Experimenting with Angles
Don't be shy; get creative! Shoot from below, above, or even sideways. Each angle tells a unique neon tale, so let your imagination run wild. Remember, in the world of neon photography, there's no such thing as a bad angle, only a new perspective!
So, with these techniques in your toolkit, you're all set to capture the neon world in all its glory. And remember, every neon sign has a story, and it's up to you to tell it!
VI. Shooting Techniques
Hey there, neon enthusiasts! Are you ready to dive into the vibrant world of neon photography? Well, buckle up because we are about to explore some fantastic tips and tricks for photographing neon signs. Let's get started, shall we?
A. Long Exposure
First on our list is the magical world of long exposure. It's like giving your camera the time to soak in the neon glow, sipping it slowly like a fine wine. This technique is your golden ticket to capturing the vibrant dance of neon lights in all its glory. So, if you're wondering how to photograph neon signs with a splash of drama, long exposure is your answer!
B. Bracketing
Next up, we have bracketing, the unsung hero in the realm of neon photography. Think of it as having a safety net, capturing multiple shots at different exposures to ensure you nail that perfect shot. It's like having a rehearsal before the grand performance, making sure every neon light hits its mark. A quintessential tip for those venturing into the neon wilderness!
C. Focusing Techniques
Last but certainly not least, let's talk about focusing techniques. In the neon world, focus is king. It's the maestro conducting the neon orchestra, ensuring every light shines at its brightest. So, fine-tune your focus and let the neon symphony play, capturing the essence of neon signs with utmost clarity.
So, grab your camera and step into the limelight. With these shooting techniques in your arsenal, you're ready to capture the neon world in all its glowing glory. Remember, in the world of neon photography, every shot is a chance to create a masterpiece, a canvas waiting to be painted with vibrant hues and surreal designs.
VII. Post-Processing
Hello, neon art enthusiasts! After a thrilling adventure in the world of neon photography, it's time to add the finishing touches to your neon masterpieces. Let's delve into the fascinating world of post-processing, where your neon photographs transform into vibrant works of art!
A. Adjusting Exposure
First things first, adjusting the exposure is like fine-tuning the brightness of a neon bulb. It's all about finding that sweet spot where the neon lights shine just right, illuminating your photograph with a vibrant glow. So, roll up your sleeves and let's get adjusting!
B. Enhancing Colors
Next, we venture into the colorful realm of enhancing colors. It's like adding a splash of paint to a canvas, bringing the neon signs to life with vibrant hues and surreal designs. So, grab your virtual paintbrush and let's add some color to the neon world!
C. Noise Reduction
Now, let's talk noise reduction, the unsung hero of post-processing. It's like clearing the static from a radio, allowing the neon lights to shine through with crystal clear clarity. So, fine-tune your settings and let's reduce that noise!
D. Sharpening
Last but not least, we have sharpening, the final touch to your neon masterpiece. It's like adding a dash of spice to a dish, bringing out the vibrant details of the neon signs. So, grab your virtual sharpening tool and let's add some zest to your neon photographs!
With these post-processing techniques at your fingertips, you're all set to create neon masterpieces that dazzle and delight. Remember, the neon world is your canvas, and post-processing is your brush. So, paint away and create your neon masterpiece!
VIII. Conclusion
Well, folks, we've reached the neon-lit finish line of our vibrant journey into the world of neon sign photography. Before we bid adieu, let's take a moment to revisit the glowing trails we've blazed together.
A. Review of Key Points
As we flicker back through our neon adventure, we recall the importance of choosing the right equipment, setting up the camera with precision, and selecting the perfect location to capture those glowing beauties. Not to forget the artistic composition and shooting techniques that transformed us into neon maestros. And let's not overlook the magical world of post-processing, where we added that final sprinkle of neon sparkle to our masterpieces.
B. Encouragement to Experiment
But wait, the neon journey doesn't end here, dear friends. Oh no, it's just the beginning! We encourage you to step out into the neon-lit streets with a heart full of curiosity and a camera ready to capture the glowing wonders that await. Experiment with different angles, play with various settings, and don't be afraid to think outside the neon box. Remember, in the world of neon photography, the only limit is your imagination. So, go ahead, unleash your inner neon artist and paint the town neon!
As we part ways, we leave you with a twinkle of neon inspiration and a hearty encouragement to continue experimenting in this vibrant world. Who knows, your next neon masterpiece might just be a click away!
