


Table of Contents
We often run into a problem: buying multiple LED light strips and using them at the same time, but not knowing how to connect them. In modern home and commercial lighting—from deck patios, pergolas, and fences to under-cabinet lights and large commercial spaces—a standard 5-meter LED strip is almost never enough. Often, you need to connect several strips to cover the desired length.
However, just when you eagerly prepare to connect the strips end to end, thinking it’s as simple as “plug and play,” you often find that the second half is dimmer, the colors are off, or even worse, the power supply overheats and trips its protection.
So where’s the problem? In fact, connecting multiple LED strips is far from a simple physical splice. Voltage drop, insufficient power supply capacity, and improper wiring methods directly lead to uneven lighting, system instability, or even burnt circuits. To truly achieve long-distance, large-area uniform lighting, we must first understand these three key limiting factors—only then can we design a lighting system that is both bright and reliable.
Method 1: End-to-End Connection
This is the most intuitive and basic method of connecting LED strips—simply linking multiple strips end to end: connect the end of the first strip to the beginning of the second, and so on, forming one continuous strip.
Applicable Scenarios
- Short-distance installations: total length generally not exceeding 10 meters (for common 12V or 24V strips, depending on strip power and wire gauge)
- Low-power strips: applications where power per meter is low (e.g., 4.8W/m or 9.6W/m) and overall load is light
- Non-critical decorative lighting: temporary or accent lighting where uniform brightness is not a high priority
Advantages
- Simple installation: just use compatible connectors or soldering to match positive and negative leads correctly; no extra wiring needed
- Low cost: no need for amplifiers, additional power injection wires, or complex terminal blocks
Disadvantages
- Obvious voltage drop: as current travels along the copper traces of a long strip, resistance causes voltage to gradually decrease. The longer the run, the lower the actual voltage at the far end.
- Reduced brightness at the tail end: the most noticeable effect is that the front of the strip is bright, and it gets dimmer toward the end; color may also shift (e.g., white turning yellowish or reddish).
End-to-end connection is only suitable for very short total lengths and low‑power strips. If the recommended length is exceeded, you must switch to other wiring methods (such as parallel power connection or signal amplification); otherwise, the light output on the second half will be severely compromised.

Method 2: Parallel Connection
Parallel connection does not mean linking strips end to end into one long chain. Instead, each strip (or each section) is connected directly to the output of the same power supply using its own dedicated wires. Each strip draws power independently from the power supply, with no series connection between them.
Applicable Scenarios
Parallel wiring is the preferred method for outdoor LED strip installations and long runs. It is especially suitable for:
- Total lengths exceeding 10 meters (e.g., patio railings, pergolas, building outlines)
- Commercial or residential projects that demand high brightness uniformity
- Outdoor environments, because parallel wiring reduces voltage drop on any single run and makes it easier to troubleshoot individual sections
Advantages
- Uniform brightness: Each strip receives the same voltage directly from the power supply, so brightness is consistent from beginning to end. There is no "bright head, dim tail" phenomenon.
- Stable voltage: Avoids voltage drop issues caused by long series connections. Strips operate properly at their rated voltage.
- Suitable for long runs: As long as the power supply has enough capacity and the main wires are of adequate gauge, parallel wiring supports distributed lighting over dozens or even hundreds of meters.
Disadvantages
- More wiring required: Each strip needs its own pair of power wires (positive and negative). The wiring effort and material cost are higher than with series connections.
- Crowded power terminals: When many wires must connect to the same power supply terminals, you will need distribution blocks, terminal strips, or soldered bus bars.
Method 3: Power Injection
Power injection is the most practical method for overcoming voltage drop over long LED strip runs. It does not change the basic end‑to‑end series connection of the strips. Instead, at regular intervals (for example, every 10 or 15 meters), an additional pair of wires is run from the power supply and connected to the end or a midpoint of the strip, effectively "boosting" the voltage for the downstream sections.
Applicable Scenarios
Long single strips (e.g., 20, 30 meters or even longer) where you don't want to completely switch to a more complex parallel bus architecture, but still need to overcome attenuation in the rear sections.
High‑power strips (e.g., 14W/m or more, or COB strips) where voltage drop appears just a few meters into an end‑to‑end connection.

How to Choose the Connectors?
Regardless of which connection method you use (end‑to‑end, parallel, or power injection), choosing the correct connector directly determines the stability and lifespan of the system. Below is a comparison of three common options:
Solderless Connectors
It uses a clip or press‑fit mechanism to clamp down on the solder pads of the LED strip, requiring no soldering iron. Contact resistance is slightly higher, making it prone to heating under high current. It is not suitable for outdoor use or long‑distance, high‑power applications. Recommended for indoor, short‑distance, low‑vibration environments (e.g., under‑cabinet lighting, display cases).
Soldered Connections
Soldering wires directly onto the solder pads of the LED strip provides the lowest contact resistance and the highest reliability. It requires soldering tools and basic skills, but a single soldering job can prevent future connection issues. Recommended for long‑distance, high‑power, voltage‑drop‑sensitive systems, as well as installations that involve running wires through conduit or subjecting them to pulling and tugging.
Waterproof Connectors
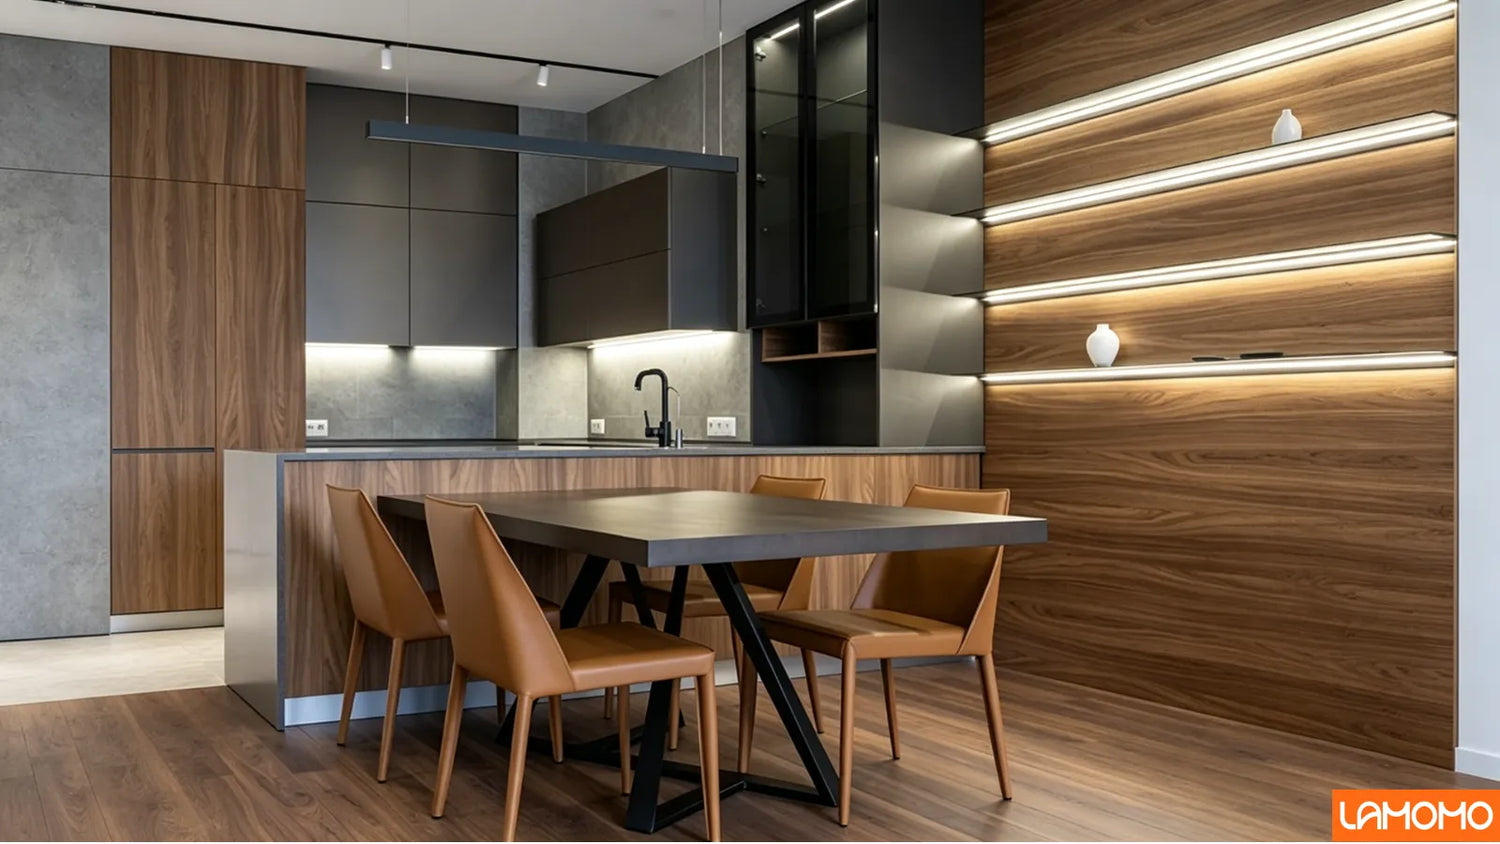
The connector features a silicone sealing ring or potting compound. When used with waterproof LED strips, it can achieve a protection rating of IP65 or higher. Recommended for outdoor patios, pergolas, fences, and damp or rain‑exposed environments.
FAQs about Connecting LED Strips
Is soldering better than connectors?
In terms of reliability and electrical performance, soldering is almost always superior to solderless connectors; however, "better" depends on your specific needs and skills.
How many LED strips can one power supply run?
It depends on the power supply's rated power (wattage) and the total power of the LED strips, not the "number of strips." When running multiple strips from the same power supply, it is recommended to use parallel connection or power injection to avoid voltage drop caused by end-to-end series connection.
Can you connect different LED strips together?
It is possible, but there are strict prerequisites. Simply connecting LED strips of different specifications often leads to uneven brightness, color errors, or even burnout.
