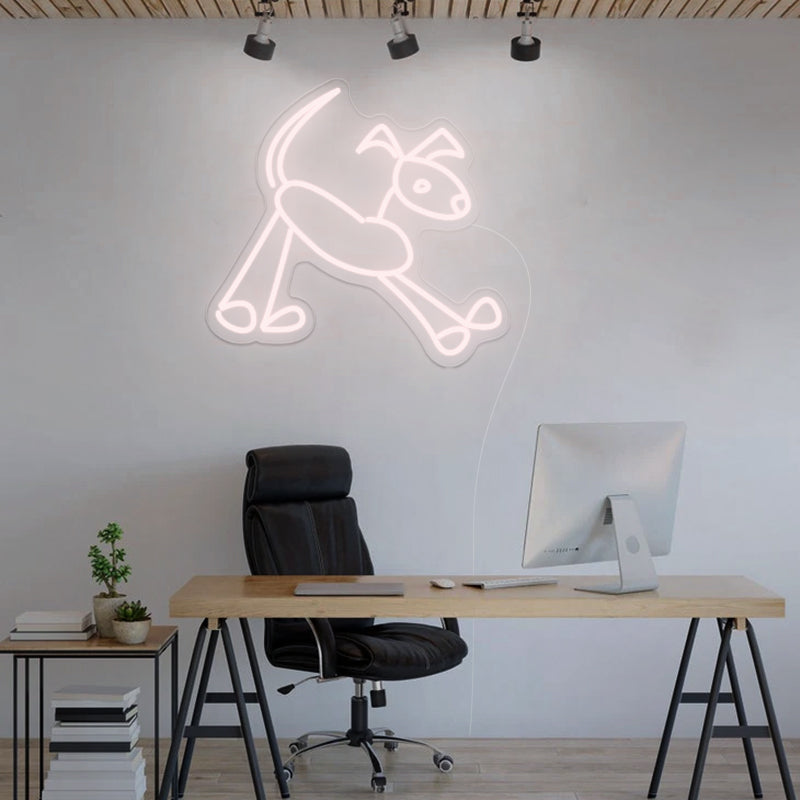
Neon signs have long been a staple in advertising, home decor, and art installations. Their vibrant glow adds a unique charm to any setting, but like any piece of equipment, neon signs can sometimes break or require maintenance. This blog will guide you through the essentials of neon sign repair, offer tips on replacing neon with LED neon rope, and provide step-by-step instructions on how to fix a broken neon sign.
Understanding Neon Sign Repair
Neon signs are intricate pieces of art and engineering. They consist of glass tubes filled with gas (neon or argon) that emit light when an electrical current passes through. Over time, these signs can experience various issues, such as broken glass tubes, faulty transformers, or gas leaks. Understanding the basics of neon sign repair can save you time and money and prolong the life of your beloved neon sign.
Common Issues with Neon Signs
- Broken Glass Tubes: The most obvious issue is a broken glass tube. This usually happens due to physical impact or stress.
- Faulty Transformer: The transformer is the power supply unit of the neon sign. If the sign flickers or doesn’t light up at all, the transformer might be at fault.
- Gas Leaks: Over time, the gas inside the tubes can leak, reducing the sign’s brightness.
- Wiring Problems: Faulty wiring can also cause issues with neon signs, leading to intermittent lighting or complete failure.
How to Repair Neon Signs
Repairing neon signs requires a bit of skill and the right tools. Here are the steps to follow:
1. Safety First
Before starting any repair work, ensure the neon sign is unplugged from the power source. Neon signs operate at high voltages, which can be dangerous.
2. Identify the Problem
Examine the neon sign to determine the issue. Look for obvious signs like broken tubes or check for any loose or damaged wires. If the sign is not lighting up at all, it might be a transformer issue.
3. Repairing Broken Glass Tubes
- Supplies Needed: Glass tubes, glass cutter, rubber tubing, gas, vacuum pump, and electrodes.
-
Steps:
- Cut a new piece of glass tube to replace the broken section.
- Use rubber tubing to connect the new piece with the existing tube.
- Pump the gas into the tube and seal it with electrodes.
- Use a vacuum pump to remove air and impurities.
- Carefully bend the new tube to match the original design.
4. Fixing the Transformer
- Supplies Needed: Replacement transformer, screwdriver, multimeter.
-
Steps:
- Use a multimeter to test the transformer. If it’s faulty, it needs to be replaced.
- Unscrew the transformer from the sign.
- Connect the new transformer following the same wiring configuration.
- Secure it in place and test the sign.
5. Checking and Fixing Wiring
- Supplies Needed: Wire strippers, electrical tape, multimeter.
-
Steps:
- Use a multimeter to check for continuity in the wires.
- If a wire is broken or damaged, strip the ends and reconnect them using electrical tape.
- Ensure all connections are secure and insulated.
How to Replace Neon Signs with LED Neon Rope
LED neon rope is a modern alternative to traditional neon signs. It’s more energy-efficient, durable, and easier to install and maintain. Here’s how you can replace your old neon sign with an LED neon rope:
1. Gather Supplies
You will need LED neon rope, a power supply unit, mounting clips, and a heat gun.
2. Remove the Old Neon Sign
- Unplug the neon sign and carefully detach it from its mounting.
- Remove any adhesive or screws holding the neon tubes in place.
3. Install the LED Neon Rope
- Cut to Size: Measure and cut the LED neon rope to match the length of the original neon tubes.
- Mounting: Use mounting clips to secure the LED neon rope in place. Ensure it follows the design of the original neon sign.
- Connect to Power: Connect the LED neon rope to the power supply unit. Make sure the connection is secure and insulated.
- Test: Plug in the power supply and test the LED neon rope to ensure it lights up correctly.
How To Fix A Broken Neon Sign?
Fixing a broken neon sign can be daunting, but with the right approach, it’s doable. Here’s a detailed guide:
1. Assess the Damage
Carefully inspect the sign to identify the damage. Broken tubes, faulty transformers, and wiring issues are common problems.
2. Replace Broken Tubes
- If a glass tube is broken, follow the steps outlined above to replace it.
- Ensure the new tube is correctly filled with gas and sealed.
3. Fix Electrical Issues
- Test the transformer with a multimeter and replace it if necessary.
- Check all wiring connections and repair any broken wires.
4. Reassemble and Test
- Once repairs are complete, reassemble the neon sign.
- Plug it in and test to ensure it’s working correctly.


