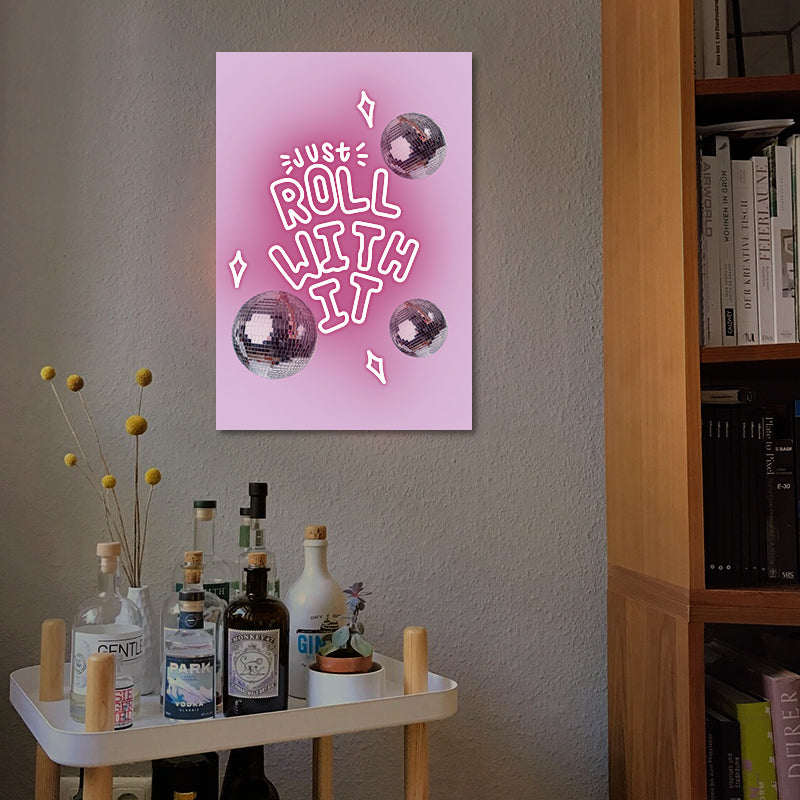


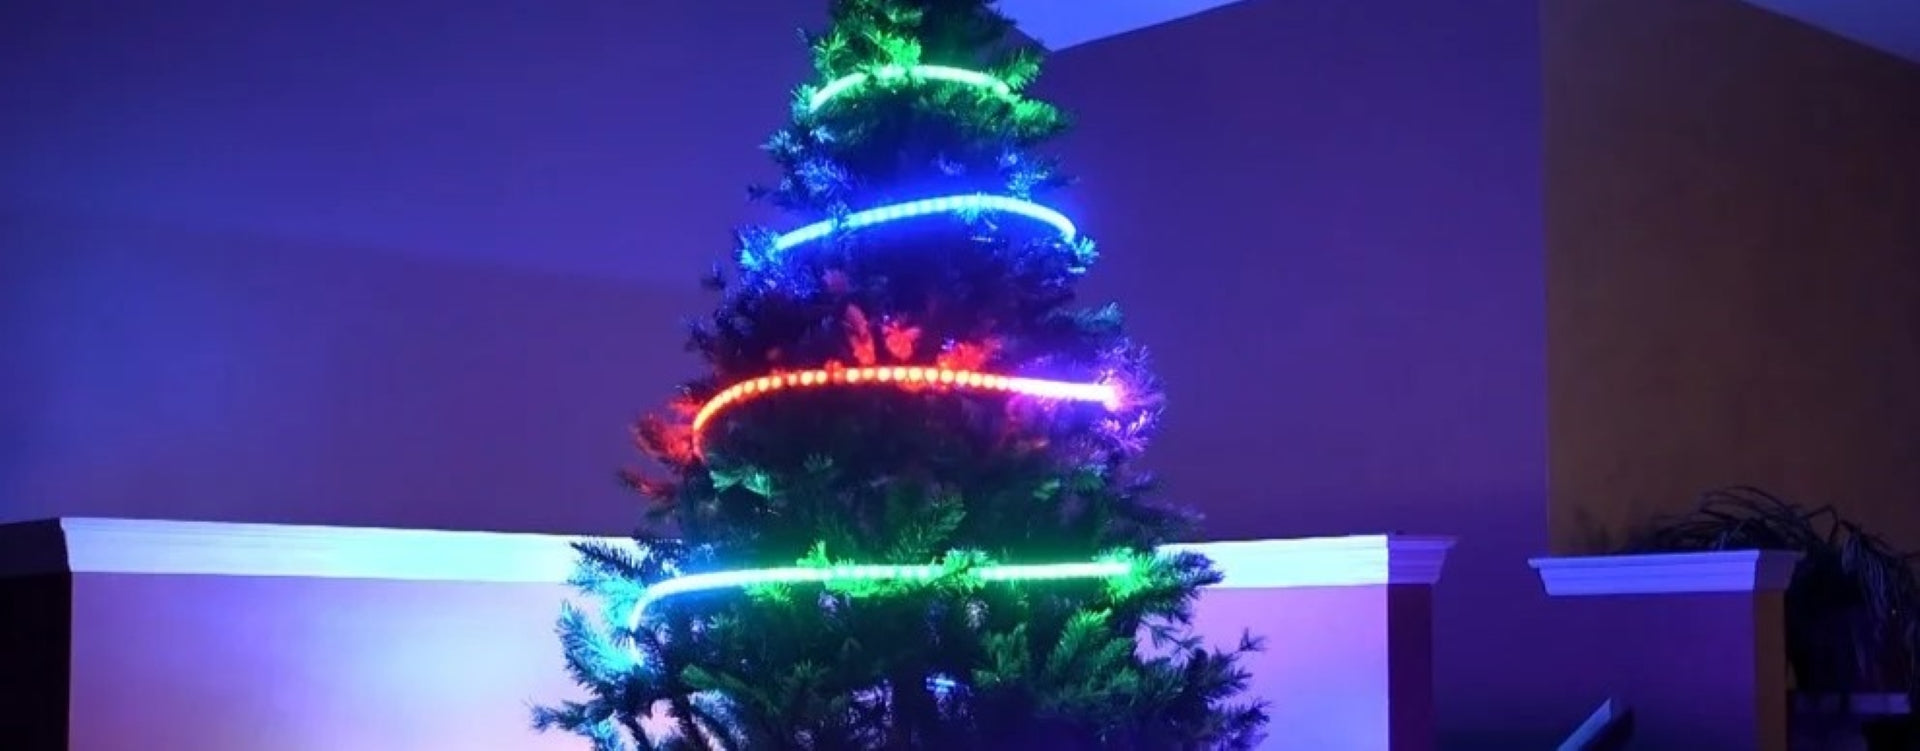
Hey there, reader! Ever wanted to add a little flair to your personal or professional space? What better way than with a neon sign? It's like turning your room into a mini Time's Square. But, of course, before you get all jazzed up and light up the place, there's the teensy detail of installing it properly. Don't worry, I've got your back. Let's break it down, shall we?
Traditional Glass Neon: Mounting It Directly On Your Wall
Glass neon signs are the OGs of the neon world. They have a unique charm and have been gracing bars, diners, and tattoo parlors for decades. But, they can be a tad delicate. So, when mounting these directly on your wall, handle with care. You know, like holding a baby or a bowl of really hot soup.
Traditional Glass Neon: When It's Already Mounted
Ah, the convenience of a pre-mounted glass neon sign! If you've got one of these, half the work is done. Now all you've got to do is find the perfect spot, and voila, your room's got a brand-new glow.
LED Neon: The Direct-to-Wall Edition
LED Neon signs are like the younger, cooler siblings in the neon family. They're energy-efficient and durable. Going for the direct-to-wall option? It's a tad easier than its glass counterpart. But, remember, just because it's LED doesn't mean it's indestructible. Treat it nicely, and it'll return the favor by lighting up your life.
LED Neon: The Pre-Mounted Version
Got yourself a pre-mounted LED neon sign? Lucky you! It's almost like getting a pizza that's pre-sliced. Just decide where you want your splash of color and hang it up. Simple and stylish!
Now, if you're scratching your head, wondering about the nitty-gritty of these neon types, don't fret! You can get all the deets on our dedicated Neon product page. A quick heads-up, though: installing neon signs isn't a DIY project you want to take lightly. Safety's the name of the game here.
Remember the Golden Rule: To make sure your neon sign not only looks fab but is also safely installed, always (and I mean ALWAYS) get an expert involved. They'll handle your neon with the precision of a surgeon and the care of a parent.
So there you have it! Ready to transform your space? Let neon be the answer. And always keep it lit, safely and in style!
Before You Light It Up: Handy Tips for Hanging Neon Signs
Hey there, neon enthusiast! So, you've got your dazzling neon sign, and you're itching to show it off. Hold your horses! Before you get to the fun part, let's chat about a few things you should know. I promise it's worth the wait.
1. Location, Location, Location!
The key to making your neon sign pop is all about where you place it. Think of your sign like a piece of art. It needs its own space to shine and be the star. Whether it's your brand's swanky logo or some catchy phrase, make sure it's placed where everyone can see and admire it.
2. Got the Right Tools?
You wouldn't use a chainsaw to butter your toast, right? Similarly, ensure you've got the right screws and dowels that match your wall type. It makes a difference!
3. Safety First with Glass Neon Signs
If your neon sign's made of glass and you're planning to hang it in a public space, you might need a protective front cover. Better safe than sorry, right? If you're scratching your head, wondering if this applies to your spot, just give our team a shout. We're here to help!
4. Unboxing Time!
Feels like Christmas morning, doesn't it? When you're unwrapping your neon treasure, keep an eye out for any damages. Let's avoid any "Oops, I missed that!" moments. And while you're at it, cross-check with the list of components we've provided. It's like checking off items on a scavenger hunt.
5. Lost a Part? No Sweat!
Hey, stuff happens. If you realize you're missing a component or two, don't panic. Just swing by our Accessories Shop, and you'll find all the spare parts you need.
The Perfect Guide to Hanging Your Glass Neon Sign: Direct-to-Wall Style
Alright, so you've got your sleek glass neon sign and you're all set to dazzle your space. But how exactly do you go about hanging it? Fear not, I've got you covered. Let's dive right in!
1. What's In The Box?
- Technical drawing (it's like a treasure map for your sign)
- Screws & dowels (essentials for hanging)
- Neon tubes (the main attraction)
- Tube supports (your neon's BFFs)
- Silicon caps (safety first!)
- Power supply unit (the juice behind the glow)
2. Tools You'll Need
- Level (to keep things straight)
- Tape (not the mixtape kind, just regular tape)
- Drill (vroom, vroom!)
- Screwdriver (your handy buddy)
- Marker (for all the marking)
- Hands & a pinch of patience (you've got this!)
Get Set, Prep!
- Start by aligning your technical drawing using the level.
- Once you've got it straight, tape that baby up on the wall.
- Drill holes where the drawing tells you to. Think of it as connecting the dots.
- Gently remove the drawing. It's served its purpose.
Tube Support Time
- Pop those dowels into the holes you've just drilled.
- Position the tube supports over them.
- With your trusty screwdriver, fix them in place using the screws.
Neon Tube Tango
- Align your neon sign with the tube supports.
- Carefully, and I mean CAREFULLY, slot the neon tubes into the tube supports. A gentle touch is key here.
Heads up! You can make tiny adjustments, but tread lightly. Neon's delicate, remember?
Wiring It Up
- Mount the transformer to your wall using the screws and dowels.
- Attach the high voltage cables to the electrodes at the neon tube ends. A simple twist of the wires should do.
- Slip on the silicon caps over the connections. Think of them as little safety hats.
Note: If your neon has multiple glass elements, ensure all of them are connected in the wiring. It's a team effort, and they're all connected in series.
Light 'Em Up!
- Plug the transformer into your outlet.
- Hit that switch.
- Stand back and bask in the neon glow. Voila! You did it!
There you have it! A step-by-step guide to getting your glass neon sign shining bright. Remember to take it slow, stay safe, and enjoy the neon journey. Happy hanging!
The Easy-Peasy Guide to Hanging Your Pre-Mounted Glass Neon Sign
So, you've gone for the pre-mounted neon sign, eh? Smart move! These bad boys come on either acrylic or aluminium backplates, making your life a whole lot simpler. But how do you get it up on your wall and lighting up your space? Let's get into it.
Setting Up Your Pre-Mounted Neon with a Hanger: A Step-by-Step Guide
So, you've opted for the convenience of a pre-mounted neon, huh? Great choice! These gems come with either an acrylic or aluminium backboard, making your neon journey a breeze. Ready to get it up and glowing? Let's walk through it together.
What You've Got in the Box:
- Your stylish pre-mounted neon on either an acrylic or aluminium backboard.
- Screws & dowels, because you can't hang without them!
Tools to Have on Hand:
- Level (to make sure everything's on the straight and narrow)
- Marker (for all the important marking moments)
- Drill (get ready to make some noise!)
- Screwdriver (your trusty neon sidekick)
Getting Those Holes Drilled:
- Decide where you want your neon masterpiece to shine on your wall.
- Using the level, ensure the area is straight.
- Mark the spots that align with the hanger on the backboard using your marker.
- Power up that drill and create holes at the spots you've marked.
- Pop in the dowels.
- Using your screwdriver, drive the screws into the dowels. Leave a bit of each screw out, so your neon sign has something to hang on.
Time to Mount:
- Carefully align the hanger on the back of your neon's backboard with the screws on the wall.
- Hang your neon sign onto the screws. It should sit nicely against the wall.
Heads Up! Remember, while you can make small tweaks, always handle with care. Neon's stylish but delicate.
Light It Up!
- Plug the transformer of your neon into that power outlet.
- Flip the switch.
- Step back and bask in the glow of your shining neon achievement.
That's it! With a few tools and steps, you've successfully set up your pre-mounted neon sign. Whether it's in your living room, bar, or workspace, enjoy the vibrant vibes it brings! Cheers to you and your glowing space!
Getting That Floating Look: Installing Your Pre-Mounted Neon with Distance Holders
Want to give your neon sign a little lift? Using distance holders, also known as spacers, can give your pre-mounted neon that cool, floating effect. Ready to elevate your neon game? Let's jump right into the steps.
Here's What You've Got:
- A chic pre-mounted neon sign on either an acrylic or aluminium backboard.
- Handy distance holders (spacers) to give your neon that 'floating' vibe.
- Screws & dowels: your hanging essentials.
- Transformer: the power behind your neon glow.
Your Toolkit:
- Level (because no one likes a wonky sign)
- Marker (for those crucial marking moments)
- Drill (to make your wall a bit hole-y)
- Screwdriver (an essential in every DIYer's toolkit)
Let's Get Drilling:
- First up, decide the perfect spot on your wall for your neon magic.
- Align with the mounting holes on your backboard, and mark those spots on your wall.
- Fire up that drill and get those holes going.
- Once done, slide in those dowels.
Distance Holders in Place:
- Align the sleeve (or as some might call it, the "body") of your distance holders with the holes you just drilled.
- Using your trusty screwdriver, get those screws in, securing the distance holders to the wall.
Neon Time!
- Now, gently position your pre-mounted neon so it aligns with the distance holders.
- Secure your neon plate to the distance holders by screwing the cap on top.
A Little Tip: While you might be tempted to shift things around, always remember to be gentle. It's neon, not a Rubik's cube.
Power it Up!
- Connect your neon to the transformer.
- Find a power outlet, plug in that transformer.
- Hit the switch and let the neon magic take over!
There you have it! Your pre-mounted neon sign, floating in all its glory, ready to be the highlight of your space. Kick back, maybe grab a drink, and enjoy the ambiance you've just created. Way to glow!
Light Up Your Space: A Quick Guide to Hanging Your LED Neon Sign Directly on the Wall
Hello there, future neon lover! Ready to dive into the world of LED neon and light up your space? Here's your go-to guide to get that LED neon sign hanging perfectly on your wall.
Here's Your Neon Kit:
- LED neon sign mounted on PVC support or raceways (think of them as tracks for your neon).
- Screws & dowels: the dynamic duo of wall hanging.
- A handy desktop transformer: the power behind the glow.
The Tools You'll Need:
- Drill (because how else are you getting those holes?)
- Marker (to pinpoint the perfect spot)
- Screwdriver (everyone's favorite tool)
Let's Drill Down on Drilling:
- Hold up your LED neon sign on the wall, envisioning its final, glorious position.
- Spot those eyelets on the PVC support? Mark those spots on your wall.
- Now, gently move your neon sign away from the wall.
- Time to drill! Create holes where you've marked.
- Once your holes are ready, pop in the dowels.
Get That Neon Up:
- Bring back your LED neon sign and line it up with the drilled holes.
- Drive in those screws using your trusty screwdriver, securing the sign in place.
- Got a multi-part LED neon? Simply connect the parts using the plug connection. It's like a jigsaw puzzle, but way cooler.
The Grand Finale: Lighting It Up!
- Connect your neon sign to the desktop transformer.
- Find a nearby power outlet and plug in.
- Flick that switch and let the LED magic unfold before your eyes!
And voilà! Just like that, you've transformed your space with a glowing piece of art. Take a moment, step back, and enjoy the radiant vibes you've just introduced to your room. Shine on!
Brighten Up With Ease: Your Guide to Installing a Pre-Mounted LED Neon Sign
Hey there, luminary enthusiast! Eager to add that splash of color and light with a pre-mounted LED neon sign? I've got your step-by-step playbook right here. Let’s make that wall pop!
What You're Working With:
- A snazzy pre-mounted LED neon sign on either acrylic or dibond backboard.
- Distance holders (or as I like to call them, your neon's "lifters").
- Trusty screws & dowels.
- A desktop transformer: the heartbeat of your neon glow.
Your Handy Toolkit:
- Level (for that perfect balance).
- Marker (to dot the right spots).
- Drill (your wall's new best friend).
- Screwdriver (the unsung hero of installations).
First Up, Let's Drill:
- Line up the backplate against the wall to find the perfect position for your neon display.
- Using the mounting holes in the backplate as a guide, mark the spots on the wall.
- Time to get drilling! Make holes where you've marked.
- Slide in those dowels to the drilled holes.
Setting Up The Distance Holders:
- Align the sleeve (think of it as the "body") of the distance holders with the drilled holes.
- Dive in with that screwdriver and get those screws in, locking the distance holders in place.
Mounting Your Neon Star:
- Carefully position your pre-mounted LED neon sign onto the distance holders.
- Secure it in place by screwing the cap onto the distance holders.
Quick Tip: Feel like the position needs a little tweak? You can make slight adjustments. But remember, it's neon, so handle with love and care!
Light Show Time!
- Connect your neon sign to that nifty desktop transformer.
- Find the closest power socket, plug it in, and prepare for some magic.
- Hit that switch and let your LED neon do its dazzling dance!
And there you have it! A radiant LED neon sign illuminating your space. Sit back, revel in its glow, and maybe snap a pic or two for the 'gram. Shine on, my friend!
Lighting Up Your Space, Drill-Free: How to Hang a Neon Sign Without Making Holes
Hey, not everyone's into drilling! Whether you're in a rental, want to keep that vintage wallpaper pristine, or simply don't fancy turning your wall into Swiss cheese, there's a way to rock a neon sign without any drilling. Let's dive in.
Suspended Neon Sign: The No-Drill Solution
Enter the suspended pre-mounted neon sign! This beauty comes with a backplate and a handy hanging system equipped with steel cables. Kind of like hanging a piece of art, but way cooler.
Here's the lowdown:
- Check your space for pre-existing hooks, curtain rods, or any other sturdy hanging points. No hooks? No problem! Consider using adhesive hooks that can handle the weight (but always check their weight capacity).
- Ensure the hanging point is robust enough to carry the sign's weight. We wouldn't want any neon tragedies.
- Attach the steel cables to the pre-mounted neon sign.
- Loop or hook the other end of the cable onto your chosen hanging point.
- Check and double-check that the sign hangs straight and is well-balanced.
Stick 'Em Up: The Glue Option for LED Neon Signs
While LED neon signs are the lightweights of the neon family, and sure, you could technically slap on some heavy-duty industrial glue to get them on your wall, we've got to pause here for a sec.
A Word of Caution: While it might sound like a quick fix, we don't really recommend using glue. Why? Well, over time, glue might lose its grip, and your neon sign could come tumbling down. Plus, removing it later might leave a mark. So, think long and hard before going the glue route.
There you have it! A couple of nifty ways to get your neon glow without ever touching a drill. Just always ensure that safety comes first, and that glowing sign will light up your space in no time. Enjoy the luminous vibes!
Standing and tabletop signs
For even more flexible and mobile solutions, we offer encased neon or LED neon signs. These practical tabletop neon signs come in an acrylic box with the converter inserted into the base. The "neonbox" is able to stand freely on its own, so you can easily keep it standing on a shelf or standing on a floor (just make sure it's not in the way so nobody steps on it!). You also have the option of hanging it on the wall via keyholes.
For reasons of stability and safety, there are of course size limitations to this product variant. It’s best suited for small and compact designs.
If you have any questions regarding the installation of your Lamomo Neon product, please view our FAQ page or contact us directly – our support team will be happy to offer their assistance!