


Table of Contents
You don’t have to break the bank to decorate your space. You can use a few DIY wall art ideas to spruce up your space for less than $50. All you need is a little creativity, enthusiasm, and some craft supplies to add color and character to your walls.
Let’s explore a few ideas from how you can use LEGOs, photos from you camera, cheap fabrics, LED lights, neon lights, fake plants, and flowers to create beautiful DIY wall art for your home. The best part? You don’t need to be an expert!
LEGO Wall Art
LEGOs are perfect for budget-friendly DIY wall art, whether you purchase LEGO wall art construction sets1 or create custom art from different pieces. LEGO offers construction sets that allow you to recreate artwork featuring your favorite pop culture icons, art, music, games, science, nature, history, and painting-style portraits, including Monalisa and Van Gogh’s Sunflowers.
But if you’re feeling creative, you can use LEGOs to make custom 2D wall art, abstract art, 3D paintings, family portraits, and wall sculptures. The best part? You can always re-do your LEGO wall art to match your changing tastes.

Here’s how to create custom LEGO wall art from scratch:
- Purchase LEGO pieces in different colors and shapes from LEGO’s official stores or through third-party stores and second-hand stores.
- Plan your wall art design. You can draw inspiration from photographs, nature, paintings, or hobbies. Software such as BrickLink Studio2 can help you visualize your art and break down photographs into LEGO mosaics to the size and number of building blocks you need to make your art.
- Lay the LEGO pieces on a canvas (with adhesive) or a base plate based on your design.
- Hang the completed LEGO wall art using picture hooks, nails, or double-sided tape.
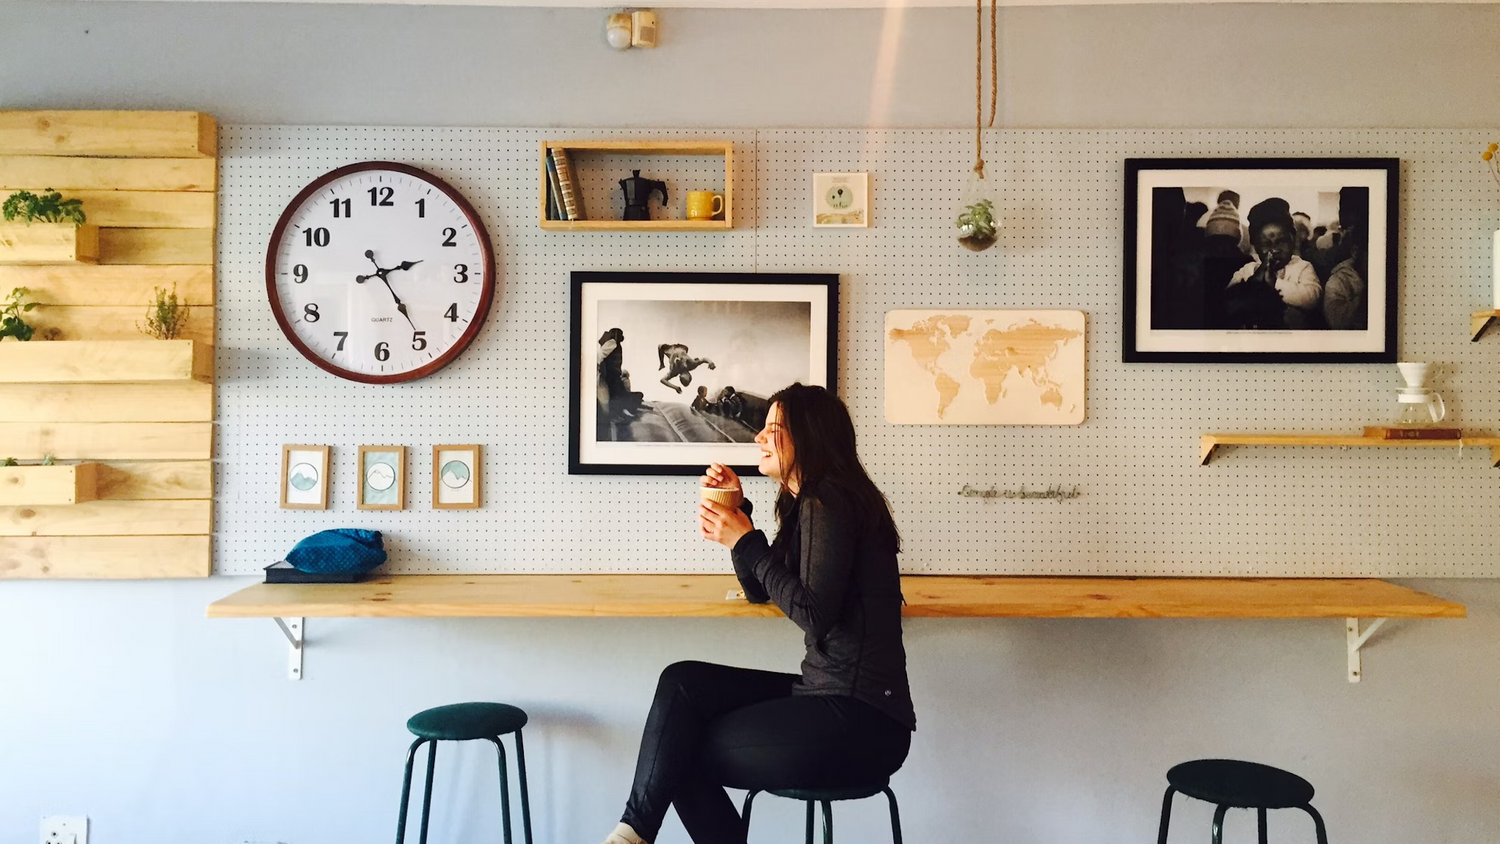
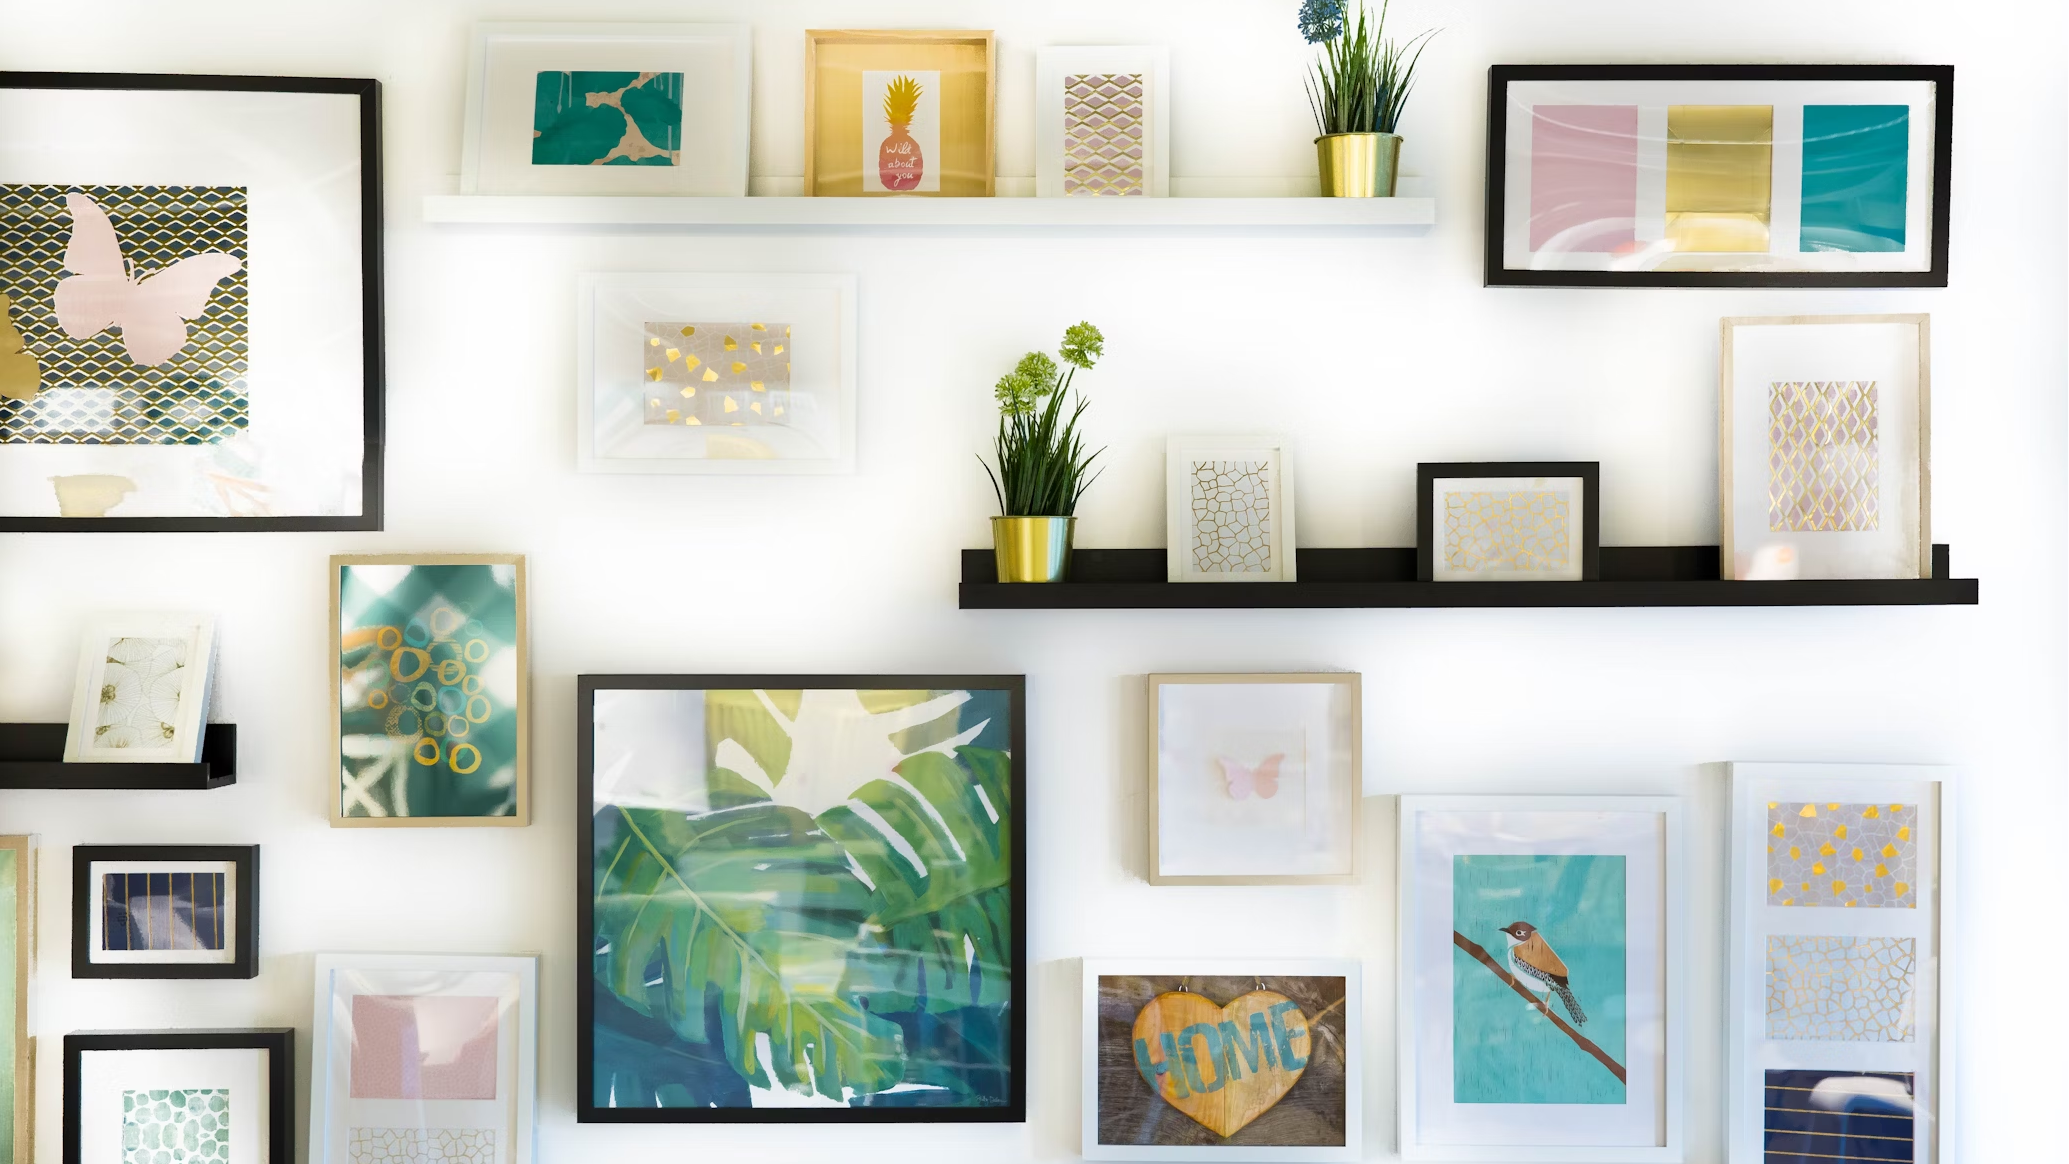
Photo Wall Art
Creating a budget-friendly photo wall art requires creativity, free resources, and affordable frames from your local Dollar Tree, IKEA, or thrift store. You can make a photo wall art from family photographs, memories from your life and travels, personal artwork, or free prints and paintings.

Here’s how to make a budget-friendly gallery wall:
- Find the desired photos or prints from your photographs, DIY paintings, online printables, or public-domain paintings. The National Gallery of Arts3 and The Metropolitan Museum of Arts4 are good sources of public-domain paintings from different eras. Print the artwork or photographs on canvas for an elevated appearance.
- Plan the layout of your photo wall art depending on the theme and the room. You can go for a structured or free-form layout, depending on your decor style. Online gallery wall tools such as My Wall Decorator5 are handy in helping you test different layouts of your photographs before you commit to hanging them on your wall.
- Mount the art on the wall based on the chosen layout. Start by measuring and marking where each art piece should go, then use a spirit level to balance each piece. Use nails, picture hooks, or renter-friendly options like command hooks and command strips to hand your artwork.
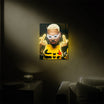
LED Wall Art
Have a film of LED strip lights lying around your home? You can turn them into affordable LED wall art to create stunning displays in your home by customizing them into intricate designs or patterns with additional features like color-changing lights or display animations.

Your creativity and enough LED strips are all you need to create stunning custom wall art for your space. Here are several DIY LED wall art ideas to try:
- Add visual interest to your picture frames by attaching an LED strip lights along the frames.
- Create cut-out art from paper, wood, or metal strips, then attach an LED strip along the edges to create backlit LED wall art.
- Poke holes into a painted canvas and attach LED lights behind it to create a lighted canvas.
- Create a word-art painting on a piece of plywood and use LED strips along the lettering to light up the piece.
- Create an LED wall panel
Here are some tips when creating your DIY LED wall art:
- Choose LED light colors based on the purpose and mod you want to create with your wall art
- Go for good quality and energy-efficient or battery-operated LED lights for your wall art
- Consider the overall theme, color scheme, and other artwork that the LED wall art will interact with
Fabric Wall Art
It doesn’t take much to turn fabric or fabric scraps into beautiful fabric wall art. With a few supplies, you can turn the fabric into exquisite art, all for under $50.
Here are several DIY ideas you can use for your next fabric wall art project:
- Frame a fabric with an interesting pattern or floral details and hang it as wall art. For this, choose the desired fabric, iron it, and cut it to the desired size based on the frame. Attach the fabric to the mounting board using adhesive the frame the art.
- Make fabric applique art. You can do this by attaching cut-outs or interesting patterns on a plain fabric or using elements such as painted twigs to create beautiful designs on fabric. Depending on your choice, you may need a sewing machine or fabric adhesive to attach the scraps.
- Use hand or machine embroidery to add visual interest to the plain fabric.
- Use fabric to make macrame wall art.

Fabric wall art is versatile, depending on the style you want in your home. You can turn it into painting-style pieces, framed art, 3D fabric art, or bohemian-style art. Like all wall art, the choice of fabric color and patterns should harmonize with the overall decor.
Faux Succulents Wall Art
Live succulent walls can be a lot of work to maintain. But if you can’t keep a plant alive, use faux succulent wall art to effortlessly add greenery to your home. You will need several materials for your faux succulents wall art:
- Artificial succulents. You can choose realistic-looking faux succulents for wall art that seems as realistic as possible.
- Faux moss
- A shadow box (you can make an inexpensive one using supplies from your local hobby store)
- Frame - the frame can be plain or ornate, depending on your decor style
- Plywood backing or cardboard
- Paint
- Adhesive
To make your DIY faux succulents wall, paint the plywood backing or cardboard a dark green to blend with the succulents. Next, prepare your succulents according to the layout in which you want to place them. You can break off stems or separate succulent heads to fit your preferences.

Move the succulents around the backing, starting with the largest pieces until you find a layout that works best for you. You can draw inspiration from Pinterest.
Secure the succulents to the backing using glue. Add the smaller succulents and fill any remaining spaces with faux moss. Frame the finished piece and hang it in your desired location.
Flower Wall Art
Flower wall art is the perfect way to introduce floral accents to your home. You can make DIY floral wall art using real or artificial flowers and play around with their arrangement to find a pattern that works best for you.
If you are an outdoors enthusiast, real flowers are the perfect way to incorporate your hobbies into your living space. Start by collecting fresh flowers, with or without their stems and leaves on your next hiking trip.

Depending on the desired appearance of your flower wall art, you can dry the fresh flowers7 by pressing them under the weight of books or a pressing machine or air dry the blooms upside down in a dark, well-ventilated room to maintain their color. This process may take several weeks.
You can bypass this step by purchasing fake flowers and either use them as they are, or take them apart to make a unique floral arrangement.

You can combine different colors, flowers, and bloom sizes to your collection. With the flowers ready, lay them on a piece of plain paper. Try different layouts until you find one that works for you. Glue the flowers to the paper using archival adhesive , frame the art and hang it on the wall.
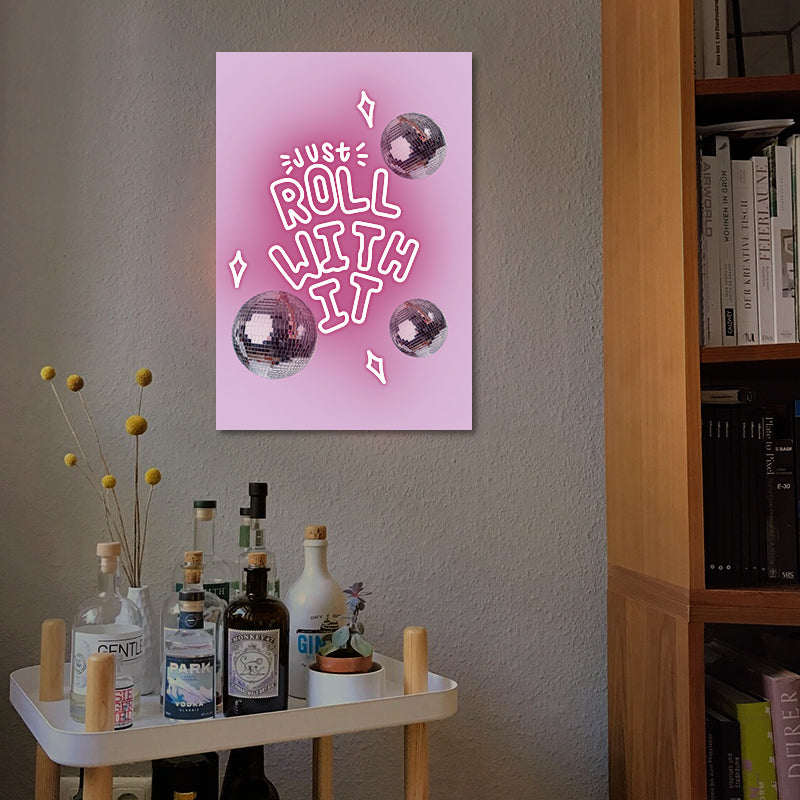
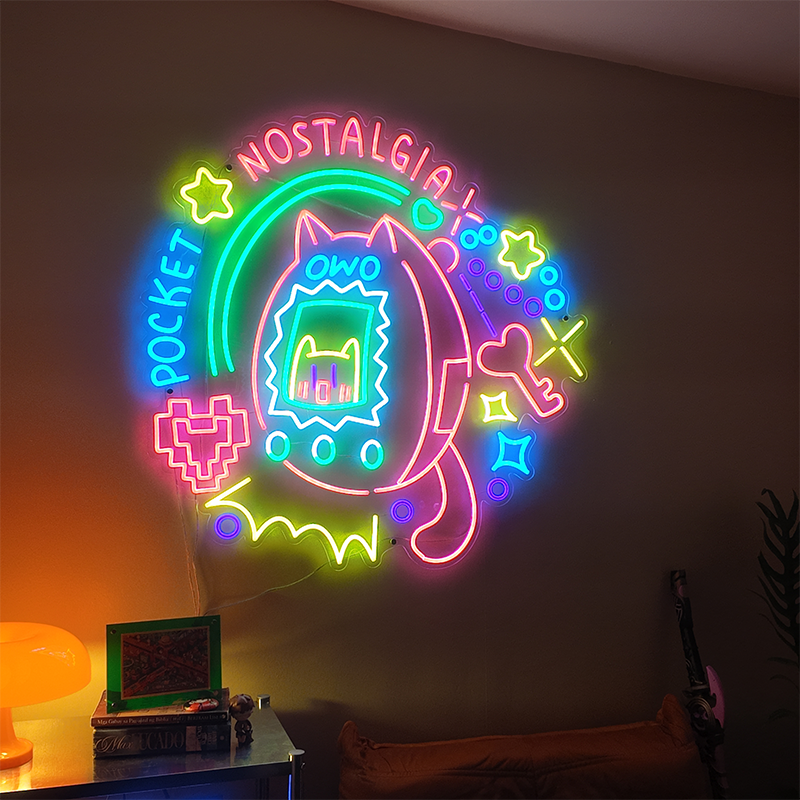
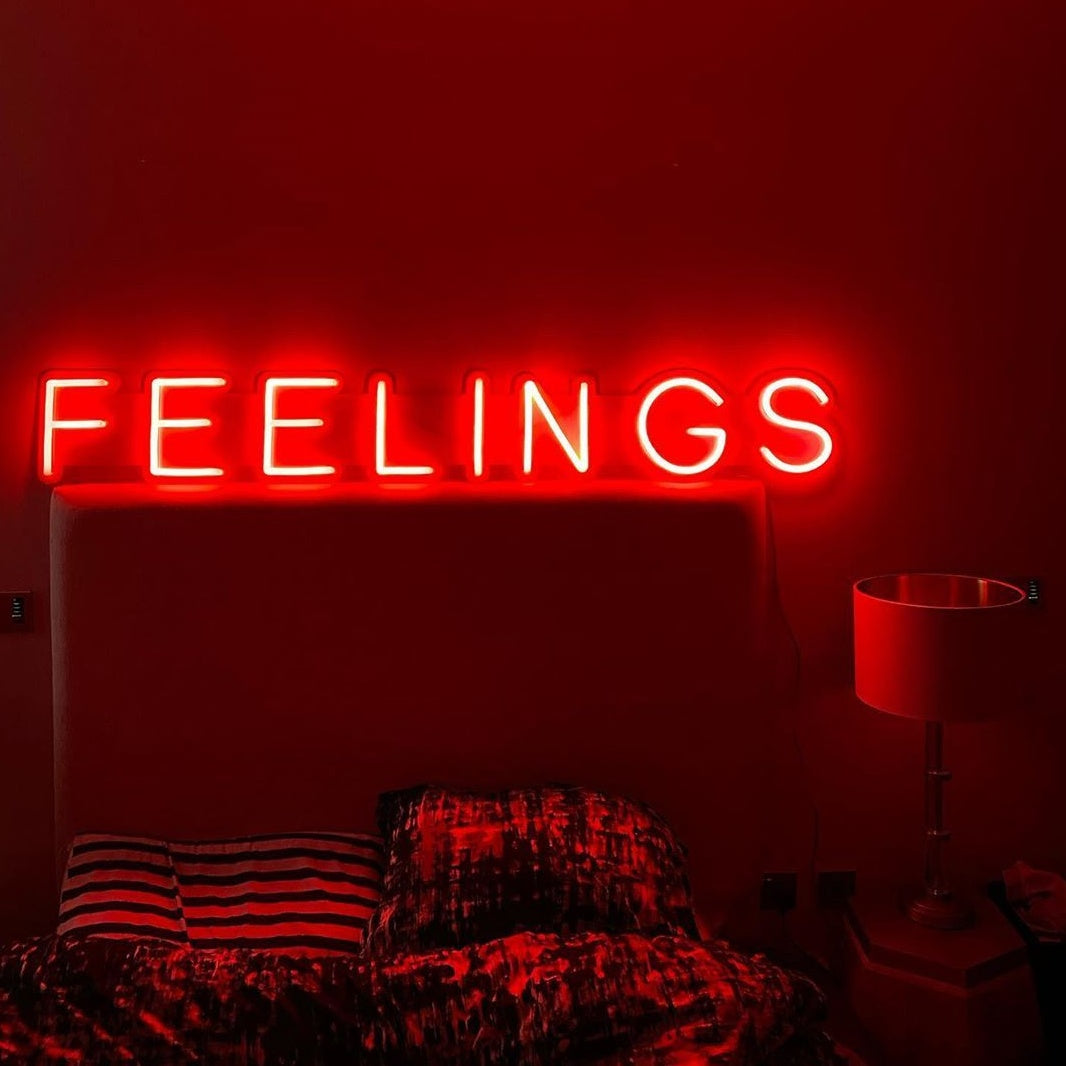
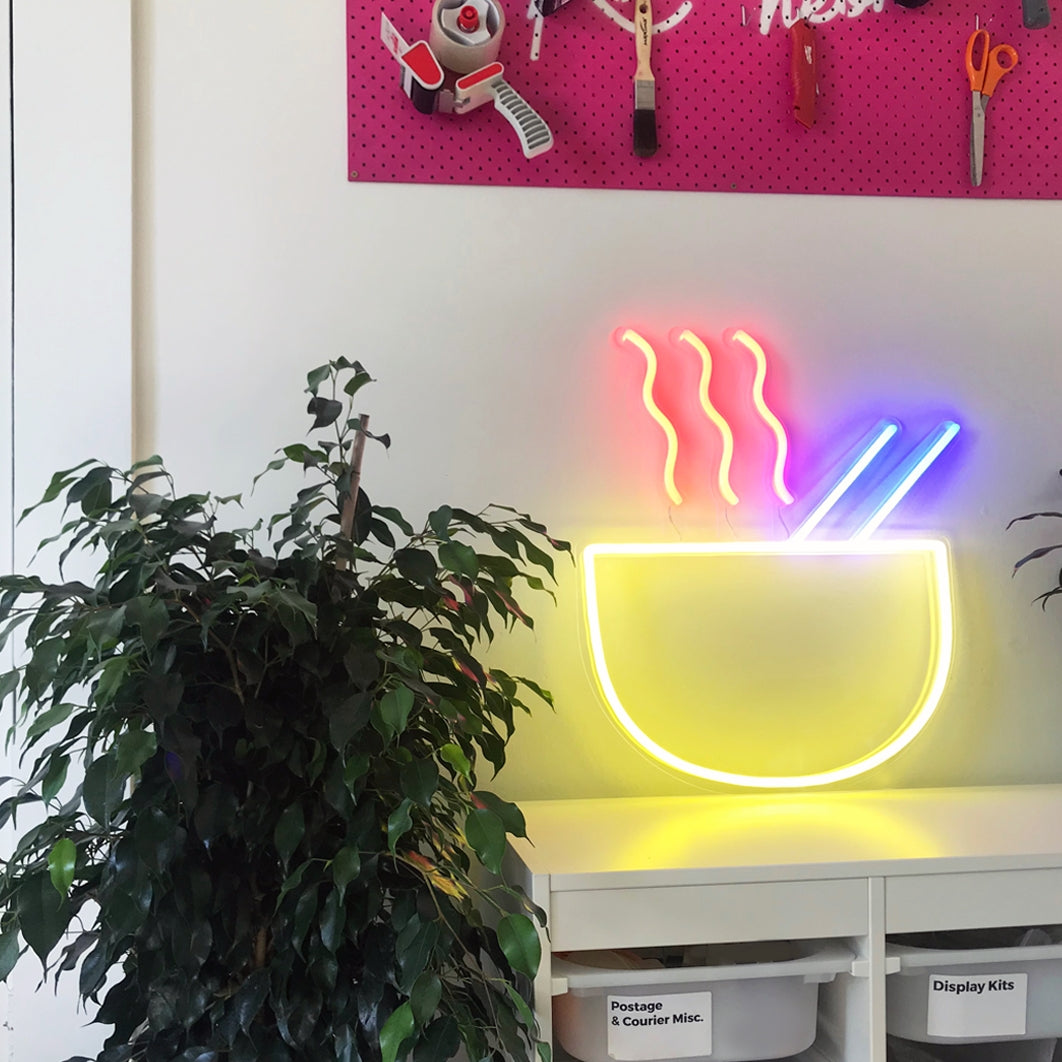
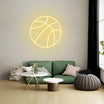
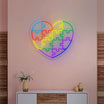
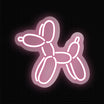
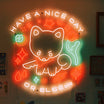
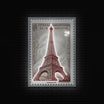
Neon Wall Art
From inspirational quotes, paintings, to custom neon signs, neon wall art makes a bold statement wherever it is placed. You can play around with different neon lights to create beautiful word art, incorporate creative fonts, or create art inspired by nature, pop icons, games, or your favorite music.

It is easy and affordable to customize neon wall art. Here’s how:
- Gather your supplies including battery-powered neon lights, a picture frame, a pencil and a board (you can use the one in the picture frame.
- Trace your design on to the board. Simple designs work best since it’s easier to lay down the neon lights. You can also turn an existing art piece into a neon sign for your room. Simply trace the lines you want to highlight. You can also download and customize drawings online if you are not artistically inclined. Use software such as photoshop or the free Lamomoneon design tool to customize your design.
- Drill a small hole for the exit and entrance where you will feed the neon light
- Attach the wire along the lines of the design using glue.
- Secure the wires behind the cardboard using strong tape and turn on your neon lights.
- Hang the neon sign in your desired spot
Struggling to make a neon sign for your room? Try custom neon signs with Lamomoneon to customize the font, layout and size of your neon sign. Each personalized neon sign comes with installation tools, instructions, a transparent neon wire, a dimmer, a remote, and a warranty.