


Table of Contents
Neon signs have captivated audiences for decades with their vibrant glow and retro charm. But traditional glass neon tubes are fragile, energy-intensive, and challenging for beginners. Enter LED neon flex—a modern, flexible, and beginner-friendly alternative that mimics classic neon’s brilliance without the hassles.
At Lamomoneon, with over seven years of expertise crafting LED neon signs, we’ve simplified the process into an easy-to-follow guide. Whether you’re creating custom decor, business signage, or personalized gifts, this tutorial will walk you through designing your layout, preparing materials, and assembling your LED neon sign safely. No prior experience? No problem—let’s light up your creativity!

Tools & Materials Needed
Before creating your neon sign, it's essential to have all the necessary tools and materials ready to avoid disruptions. Below, we'll list the required tools and materials step-by-step, so you can prepare or purchase them in advance.
Design Tools
1. Vector Design Software:
Use CorelDRAW (CDR) or Adobe Illustrator to create precise vector designs. These programs let you outline your sign’s shape, letters, or artwork, which will later guide the placement of your LED neon strips.
Hardware Supplies
2. LED Neon Flex:
Choose flexible, waterproof LED neon strips (available in single-color or RGB options). These mimic traditional neon’s glow and are bendable for custom shapes.
Tip: Measure your design’s total length to estimate how much neon flex you’ll need.
3. Acrylic Backboard:
A transparent or colored acrylic sheet (3-5mm thickness) acts as your sign’s base. It’s lightweight, easy to cut, and gives a polished look.
4. Power Supply:
A 12V or 24V transformer powers your LED neon flex. Match the voltage to your LED strips’ specifications (check the product label).
5. Assembly Tools:
Engraving Machine: To carve shallow slots into the acrylic, ensuring the LED strips sit flush.
Soldering Iron & Connectors: For securing wiring between LED segments (if required).
Silicone Glue: Weatherproof adhesive to fix the neon flex into the engraved slots.
Safety Gear
6. Protective Equipment:
Safety Goggles: Shield your eyes when cutting acrylic or soldering.
Gloves: Protect hands from sharp edges or hot tools.
Well-Ventilated Workspace: Essential when working with adhesives or during soldering.
Pro Tips
No Engraving Machine? Use a Dremel tool or laser cutter as an alternative to carve slots.
Test Before Final Assembly: Plug in your LED neon flex to ensure it lights up properly before gluing it down.
Great! Now that you have all the tools and materials ready, let's begin making your neon sign.
Step 1: Design Your Neon Sign (CDR/Vector File)
If you're a beginner and this is your first time making a neon sign, I recommend starting with a basic design. Using a single color will simplify the process.

Conceptualize Your Design
1. Keep It Simple:
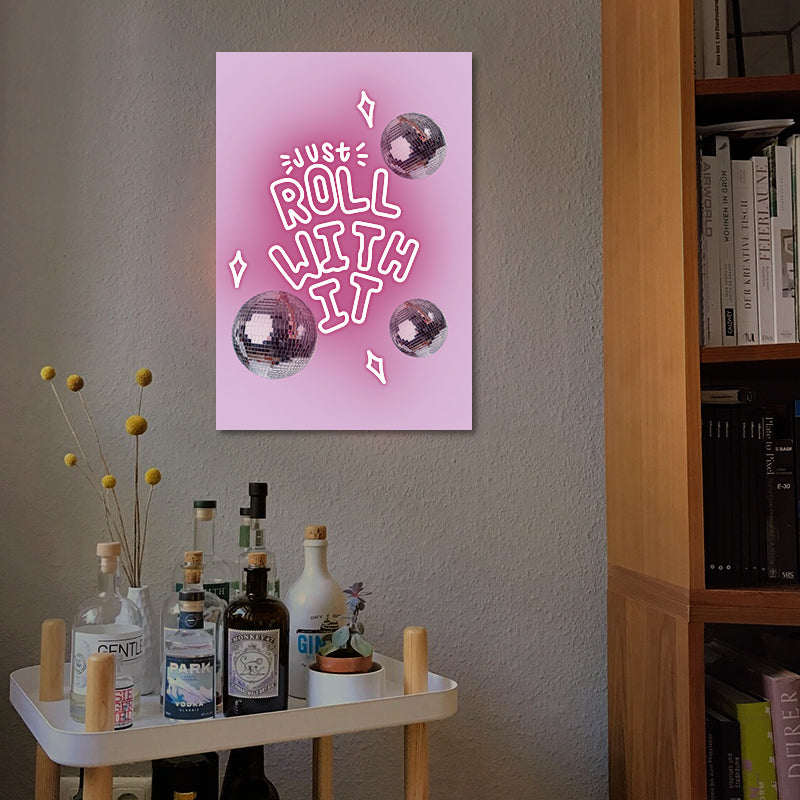
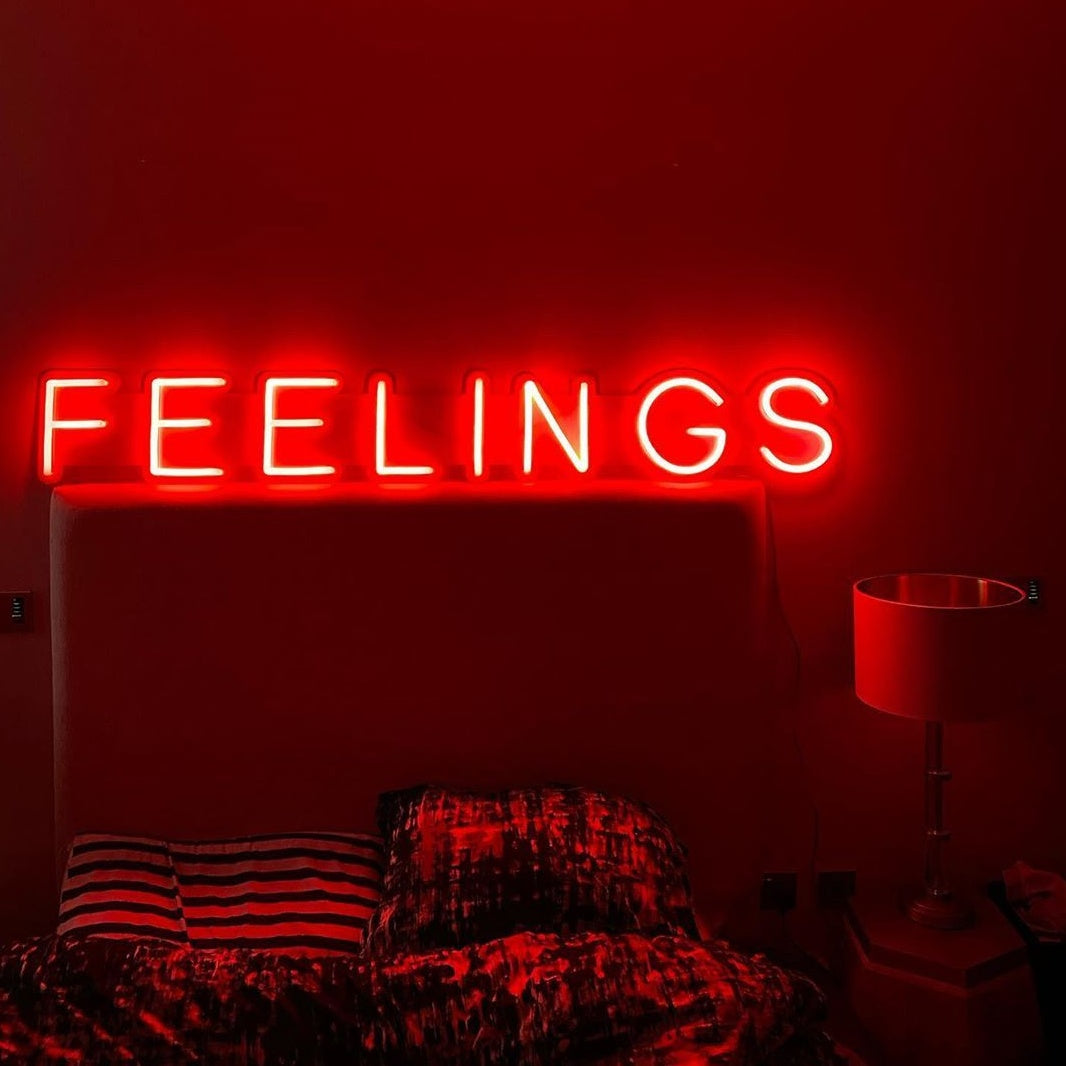
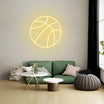
Beginners should start with bold text, basic shapes (hearts, stars, arrows), or minimalistic symbols. Avoid tiny details or complex curves, as they complicate LED strip installation.
Example ideas: A short name, a single-word mantra, or a small geometric outline.
2. Plan for Practicality:
Ensure your design has continuous lines—LED neon flex works best in unbroken paths. Gaps or disjointed segments will require additional wiring.
Pro Tip: Sketch your design on paper first to visualize spacing and proportions.
Software Setup & Design Tips
3. Set Up Your Vector File:
Open CorelDRAW or Adobe Illustrator and create a new document. Set dimensions to match your desired sign size (e.g., 24” x 12”).
Use the Pen Tool or Shape Tools to draft your design.
4. Convert Text to Outlines:
If using text, convert fonts to vector outlines (in Illustrator: Right-click > Create Outlines; in CorelDRAW: Arrange > Convert to Curves). This prevents font compatibility issues during fabrication.
5. Optimize Paths for LED Strips:
Ensure all lines are continuous and unbroken. Use the Join Path tool to connect endpoints.
Adjust stroke thickness to match your LED neon flex width (typically 6–12mm).
Pro Tips for Beginners
LED strips are designed with three lights per segment, and each segment must be at least 3cm long to have a soldering pad for wiring. Any design smaller than this cannot be realized with LED strips.
The design can influence the installation, primarily regarding whether holes are pre-drilled for mounting. Drilling holes requires leaving enough space, which can affect the overall appearance of the neon sign. Before starting the design, determine how you plan to install the neon sign. Will it be placed on a table, mounted on a wall with adhesive, or hung up? Knowing this will help you decide whether you need to pre-drill holes for hanging.
Step 2: Cut & Prepare the Acrylic Backboard
Once your vector design is ready, we can move on to the next step: cutting the acrylic backing board. Let's get started, and remember to pay attention to the details. Precision here ensures seamless LED strip installation later.
Measure & Mark
1. Transfer Your Design:
- Print your vector design at 1:1 scale and tape it to the acrylic sheet as a guide.
- Alternative: Use a projector to beam the design onto the acrylic for tracing.
- Trace outlines with a non-permanent marker (easily wiped off with alcohol).
- Safety Tip: Wear gloves to avoid fingerprints on the acrylic.
Engraving Techniques
2. Laser Engraver (Recommended for personal):
- Ideal for intricate designs. Load your vector file into the machine, secure the acrylic, and let the laser engraver along your traced lines.
- Advantage: Produces clean, precise edges with minimal effort.
3. Engraving Machine
In factory production, we typically use an engraving machine to cut slots in the acrylic backsplash for easy assembly of LED neon strips. However, if you're only making one or a few neon signs, you don't need to invest in such a large machine.

Acrylic Backboard Cutting
There are several options for cutting the acrylic backing board, and different cutting methods can result in different styles of neon signs. Here are some common cutting techniques for you to choose from:
- Cut Around: Acrylic backboard cut to match neon design contours.
- Cut To Letter: Acrylic backboard trimmed to fit each letter's shape.
- Rectangle: Classic rectangular acrylic backboard for support.
- Acrylic Stand: Acrylic backboard with detachable interlocking stand.
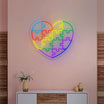
- Heart Shape: Acrylic backboard shaped to fit the heart design.
- Open Box: Acrylic backboard in a frame, no front cover.
Drill Holes for Mounting & Wiring
4. Create Mounting Holes:
Mark spots on the backboard’s corners (or hidden areas) for wall mounting.
Use a 3–5mm drill bit to bore holes, ensuring they align with your hanging hardware (e.g., screws, hooks).
5. Wire Management Holes:
Drill a small hole near the LED strip’s starting/ending point to thread power cables through the backboard.
Pro Tip: Deburr holes with sandpaper to prevent sharp edges from damaging wires.
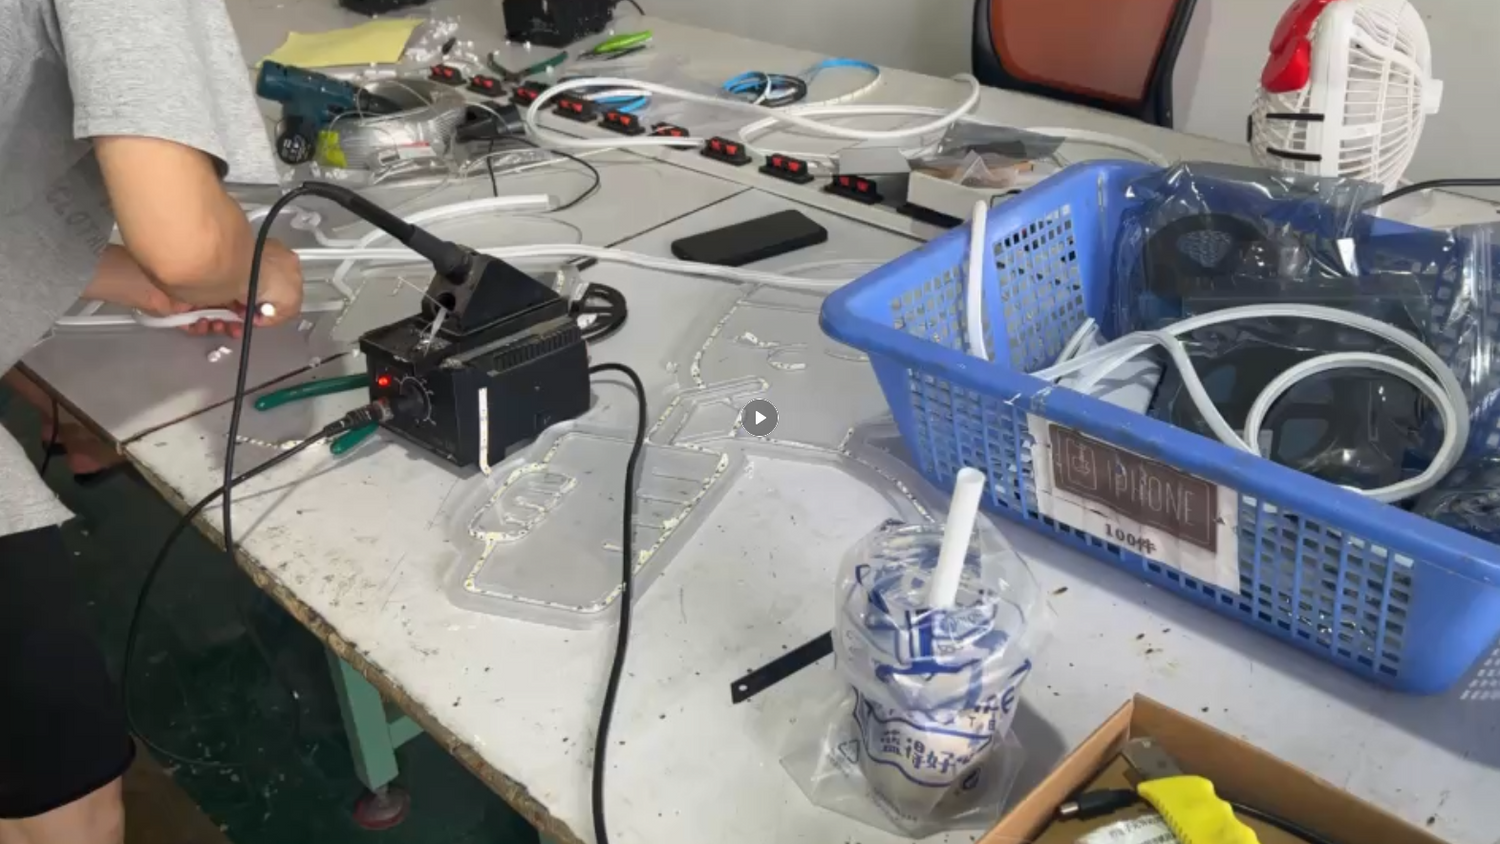
Step 3: Install LED Beads And Strips
Once the acrylic backing board is ready, we can start installing the LED beads and strips. Traditionally, LED strips are directly adhered to the backing board. However, for more stable illumination and extended use, we now use a new assembly method: first, attach the LED beads, solder and test them, and then install the LED strips on top. This method also better accommodates complex curves.

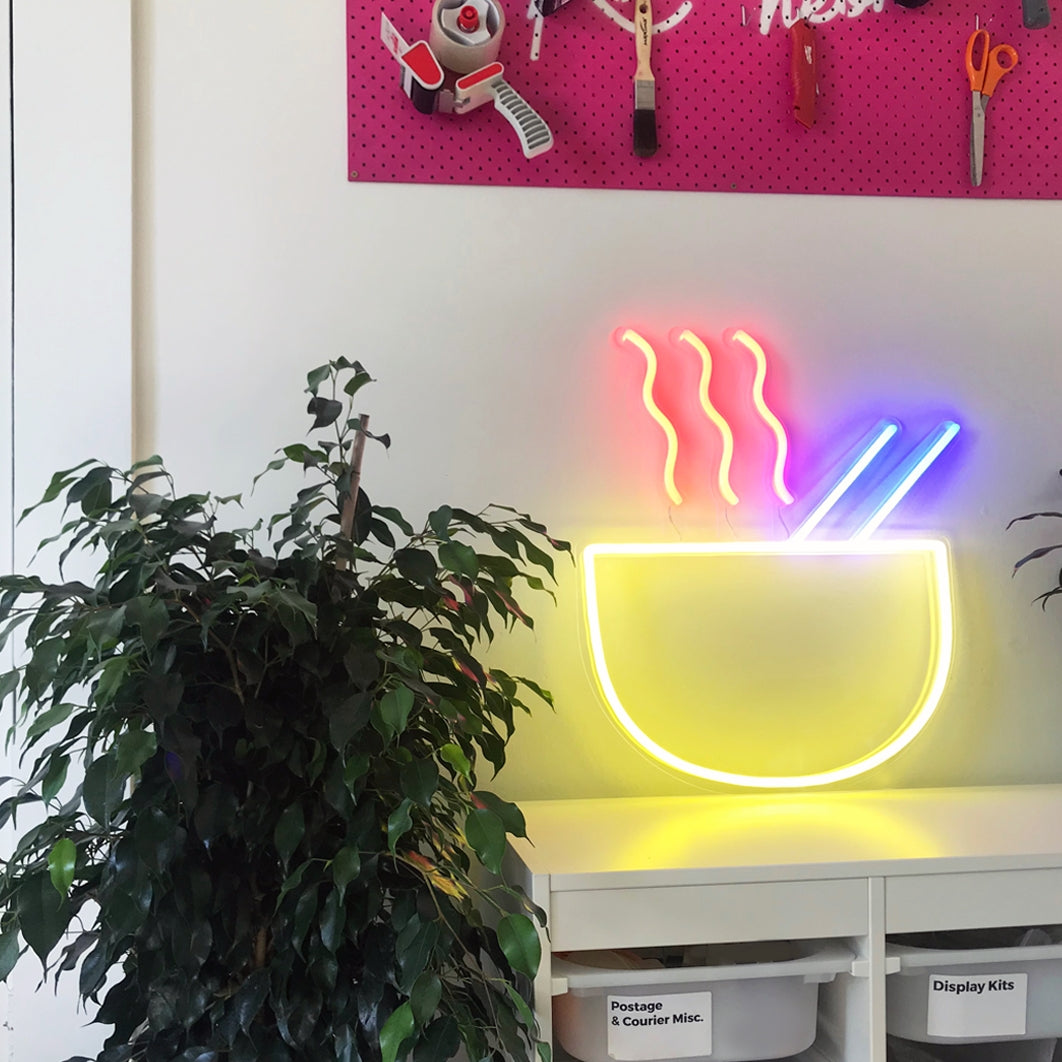
Colors for LED Beads And Strips
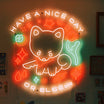
Both the LED beads and strips come in various colors. The beads determine the color of the light, while the strips can be thought of as the casing color. If the beads and strips are the same color, the light will be intensified. If the beads are white and the strips are another color, the light will be softer.
Wiring Basics
1. Measure and Prepare:
Measure the length of LED beads and strips needed based on the grooves engraved on the acrylic backing board.
2. Install LED Beads:
Place the LED beads into the grooves and use the pre-drilled holes to solder the power wires.
3. Test the Circuit:
Connect the power source and turn on the LED beads to ensure they are working correctly.
4. Install LED Strips:
Apply adhesive to the LED strips and attach them along the grooves, following the same shape.
Step 4: Power Up & Final Assembly
You’re almost there! This step brings your LED neon sign to life by connecting the power supply and giving it a polished finish. Follow these instructions carefully to ensure a safe and stunning result.

Connect to Power Supply
1. Match the Voltage:
- Confirm your LED neon flex’s voltage (12V or 24V) and connect it to the corresponding transformer.
- For soldered connections: Use a soldering iron to attach wires from the LED strip to the transformer’s terminals (red to +, black to -).
2. Insulate Exposed Wires:
- Cover solder joints with heat shrink tubing or electrical tape to prevent short circuits.
- Pro Tip: Test the connection briefly before finalizing—if the LEDs don’t light up, check polarity (reverse +/- if needed).
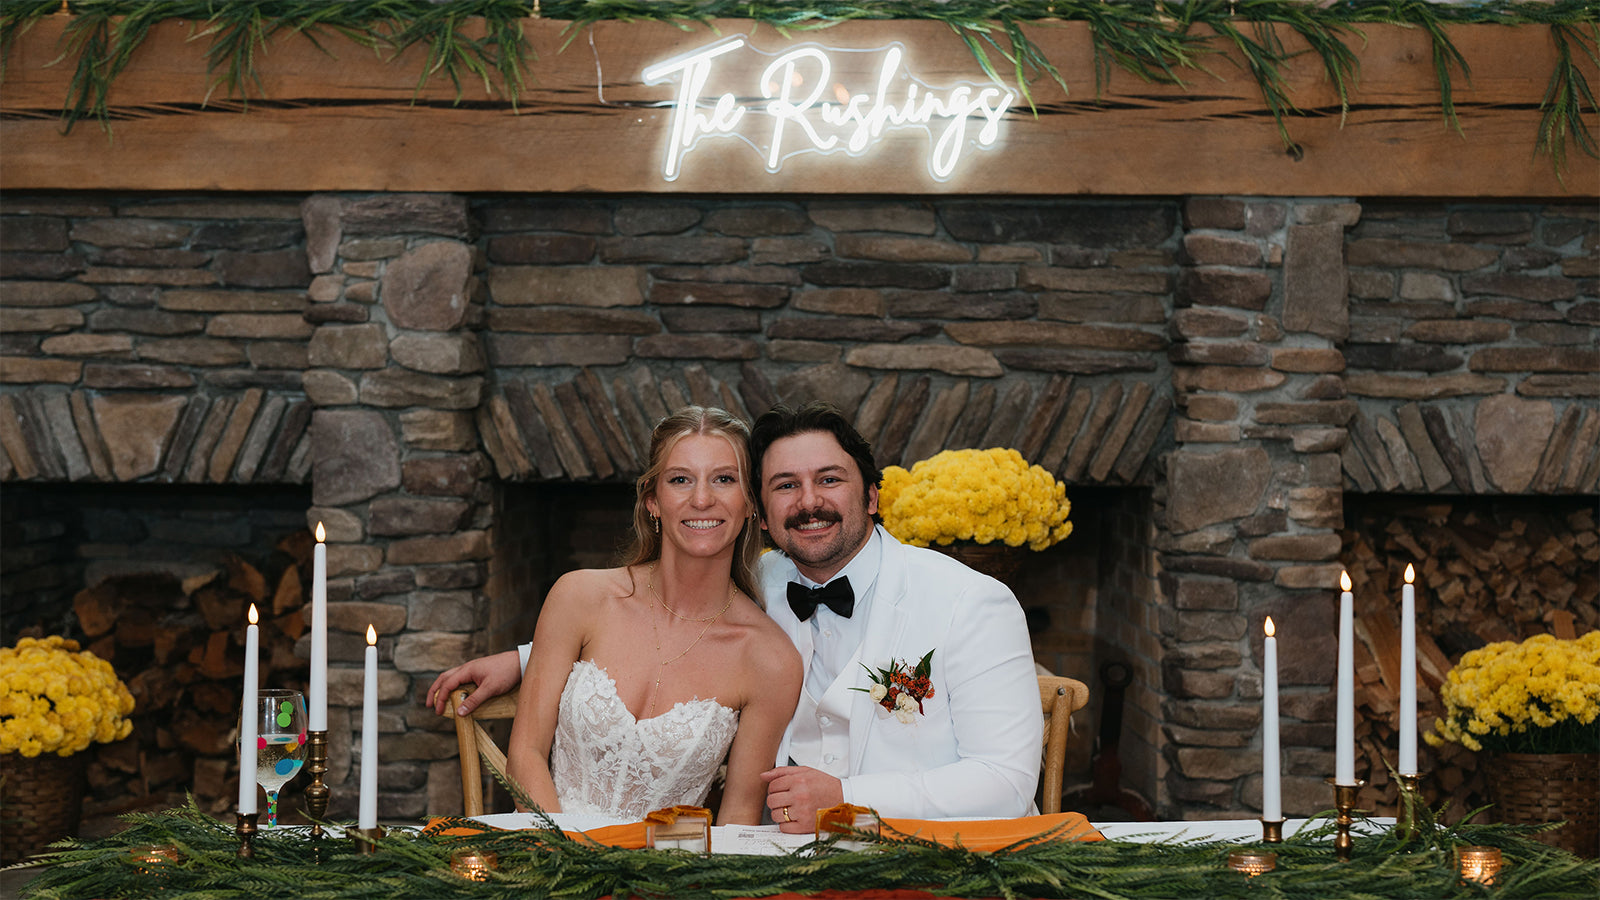
Congratulations! Your first neon sign is now complete. Light it up and admire your handiwork. Then, install it in your preferred location. For detailed installation instructions, check out our article: Neon Sign Installation Guide: for Different Displaying Methods
Although there are only four steps, you might find the process time-consuming and challenging. It's common to waste some acrylic backing boards, LED beads, and strips as you learn. Mistakes are inevitable for beginners. If you're looking for more complex neon sign designs, Lamomo is here to help. We offer comprehensive custom neon sign solutions, from initial design to the final product. Just share your ideas with us, and Lamomo will bring them to life.
FAQs
1. What other types of logos can you do?
We design and manufacture all kinds of led neon signs, including: commercial signs, shop signs, UV printing signs, RGB color changing / symphony signs, wedding signs, party signs, all kinds of festivals, event signs, home decoration signs, outdoor signage, etc.
2. Can I get free design services?
Of course you can. We are happy to offer you a free design service with one or more designs for your approval at no additional charge, you can email us the details.
3. Are you certified?
Our neon lights are all certified by UL, the adapters have FCC and UL certification, and the controller has FCC and Rohs certification. All of them are commercial grade, with guaranteed quality, so you can use them safely and at ease.
4. Do I need a remote and a dimmer for my LED neon?
Remote control and dimmer are included for free. Monochrome neon lights typically require dimmers, while RGB and phantom lights need controllers. Our neon lights can be controlled by Google Assistant, Alexa, smart software, and mobile apps.
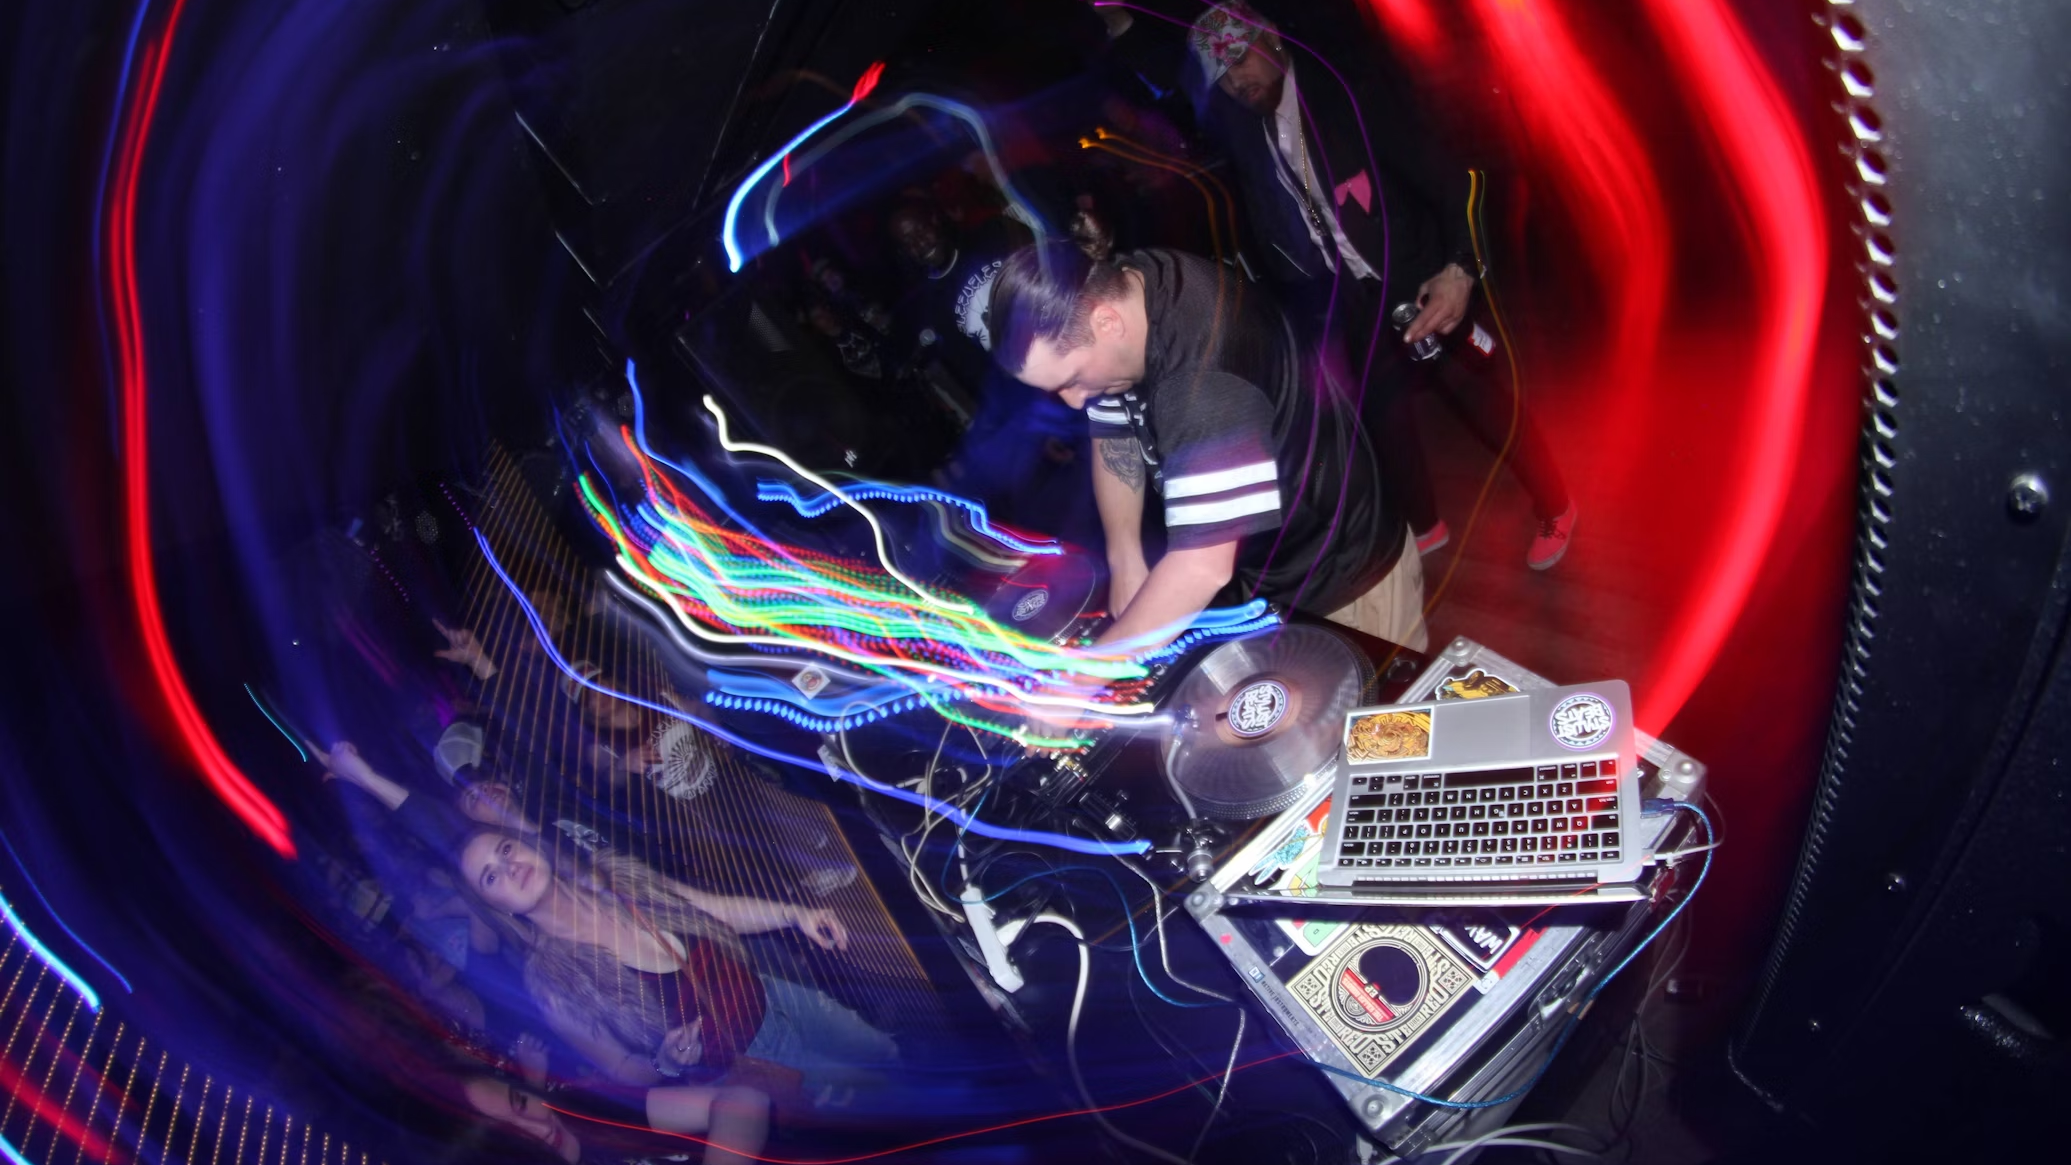
Our remotes and dimmers offer various brightness settings, on/off options, and party modes that make signs flash, blink, and pulse. You can also dim the brightness for better photo exposure. Additionally, our neon lights can change colors and flash to the music rhythm, adding an intelligent touch.
5. How big can my neon sign be?
Our custom and regular LED neon signs are 8-10mm thick. For simple or non-cursive fonts, the minimum letter height is 3-4 inches, and for cursive fonts, it's 4-5 inches. We offer various size options for custom signs.
For oversized custom orders, we will measure and create the sign on two or more backboards for safe transport and easy assembly. This ensures your sign arrives safely and meets your specifications.
6. How soon can I receive my neon sign?
Our neon signs are handmade, usually it takes 1-3 days to produce (according to the difficulty of making the sign), and the delivery time is 2-3 weeks; emergency ordering service is available, please see Shipping & Tax Policy for specific services.
7. I have requested a quote, when will I receive it?
Thank you for requesting a quote. You will receive a quote with the model within 1-2 business days. Please note that sometimes our emails are filtered into the spam folder. Make sure to look for our email there.