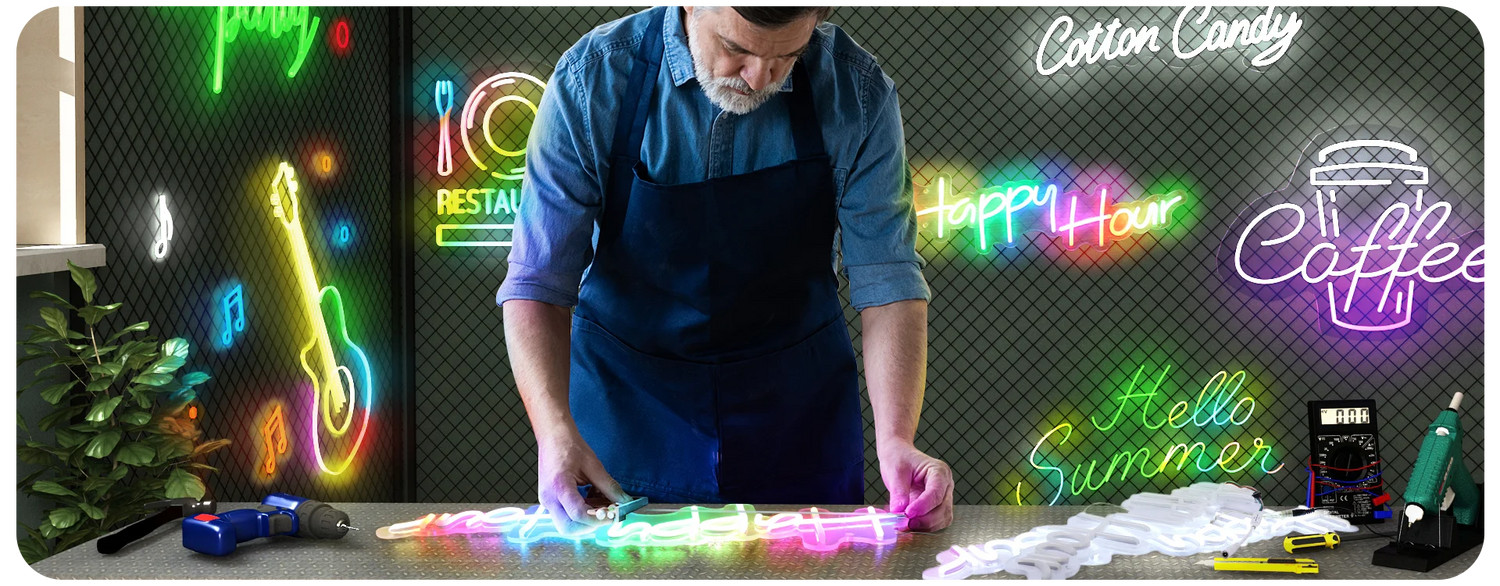
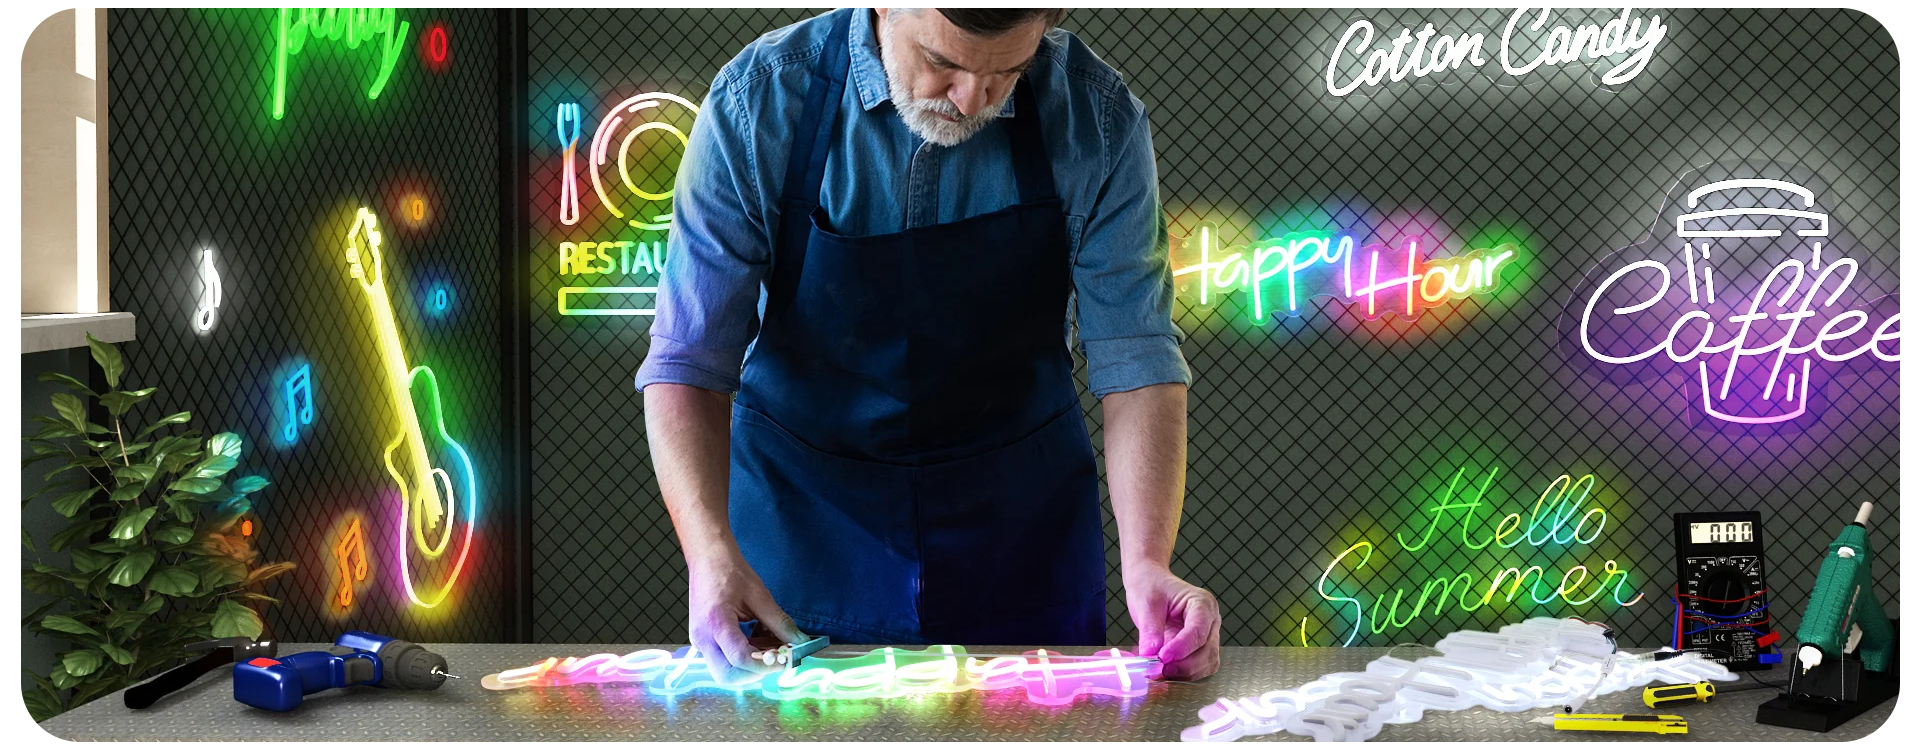
Getting tired of traditional Halloween decors or confused about how to show innovation through the decors? DIY neon decorations is the perfect way to add some spooky ambiance to your festivities. Making a DIY neon sign will only take around an hour, and here we are with this step-by-step guide to creating your own spooky neon decorations for Halloween and hope it can provide some inspiration and help with your Halloween plans this year. Let’s get started!
- Materials Needed:

– Board(it can be Wooden, PVC Board, Plywood, Acrylic Board )
– Spray paint (in Halloween colors like orange, black, and purple)
– Craft knife or Electric Cutter
– Tape
– Glue or adhesive strips
– Pen
- Design your shapes:
– Draw or print out the Halloween-themed shapes you want to create, such as pumpkins, bats, ghosts, or witches.
– Enlarge the printouts if necessary to match the desired size for your decorations, if you not able to do that, use a pen to draw the design on the board. (It’d be better to use a ruler to help)
 3. Prepare the board:
– Use the electric cutter to carefully cut out the shapes from the to the board along lines.
 4. Spray Paint the Board:
– If colors are different on the design, you can use paper to cut out the shape for each color. For instance, for making a pumpkin, we use two spray paint colors, one for it’s body and the other one for it’s eyes and mouth. So we cut out the shapes of it’s eyes and mouth and use them cover the corresponding areas on the board and spray the body. It’s the same logic for spray the eyes and mouth.

 – Let the paint dry completely before moving on to the next step.
- Attach the LED strips:
 – Use glue or clear tape to attach the LED strips along the outlines of the shapes.
– When finish with attaching, cut the neon flexible LED strips with a knife to match the shapes of your board.
- Attach the LED strips:

- Connect the LED strips to the power supply:
– Ensure that the power supply is positioned in a safe location and is connected to a power source.
- Hang your decorations:
– Attach hanging hooks(You might need to drill holes) or use adhesive sticker on the backside of the board.
– Hang the neon decorations in your desired locations, such as windows, walls, or doorways.


